Still Life Photography
General Art (9 th to 12 th Grade)
Final Artwork
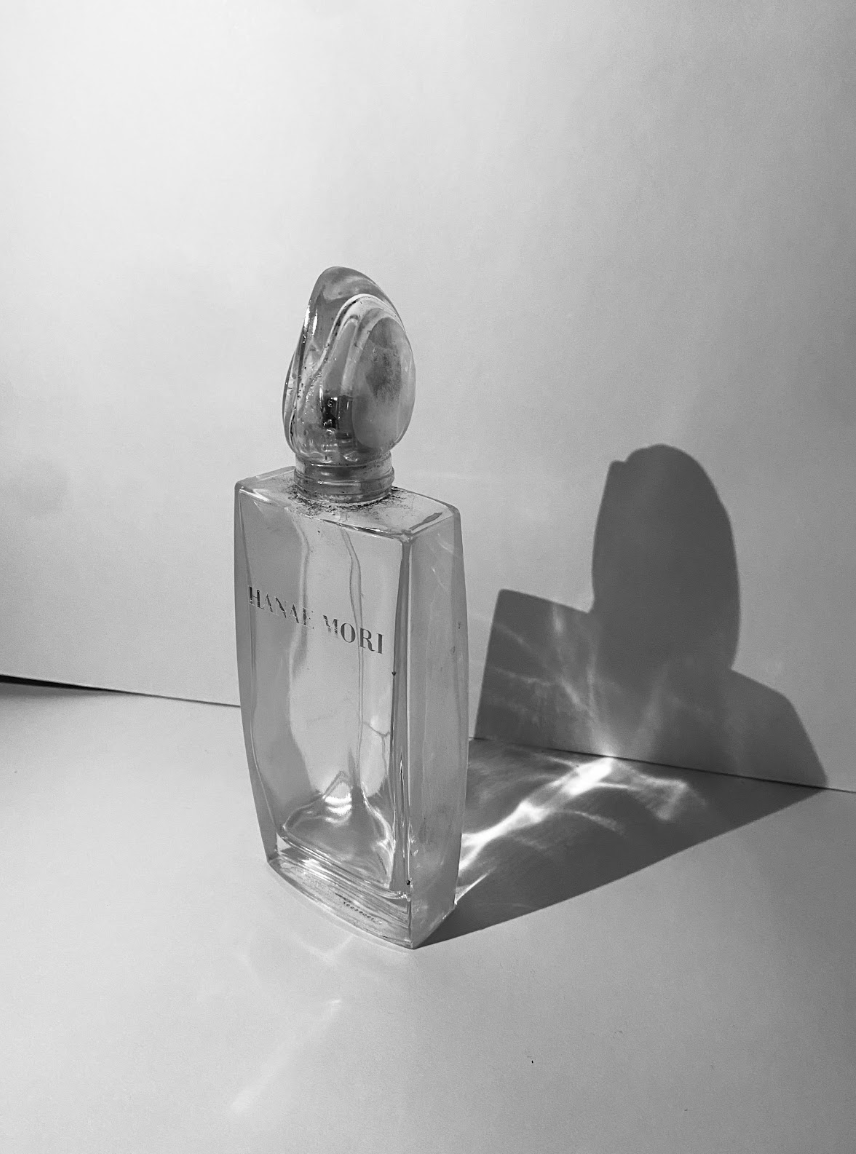
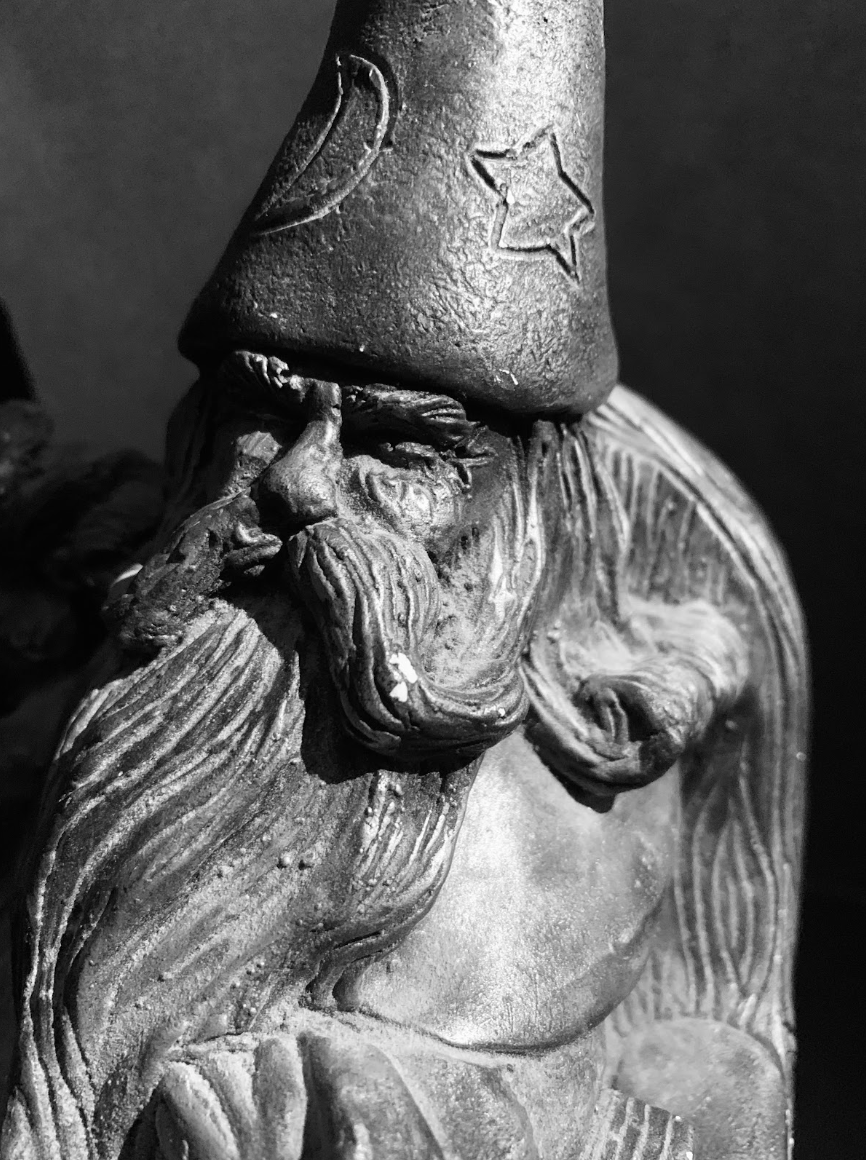
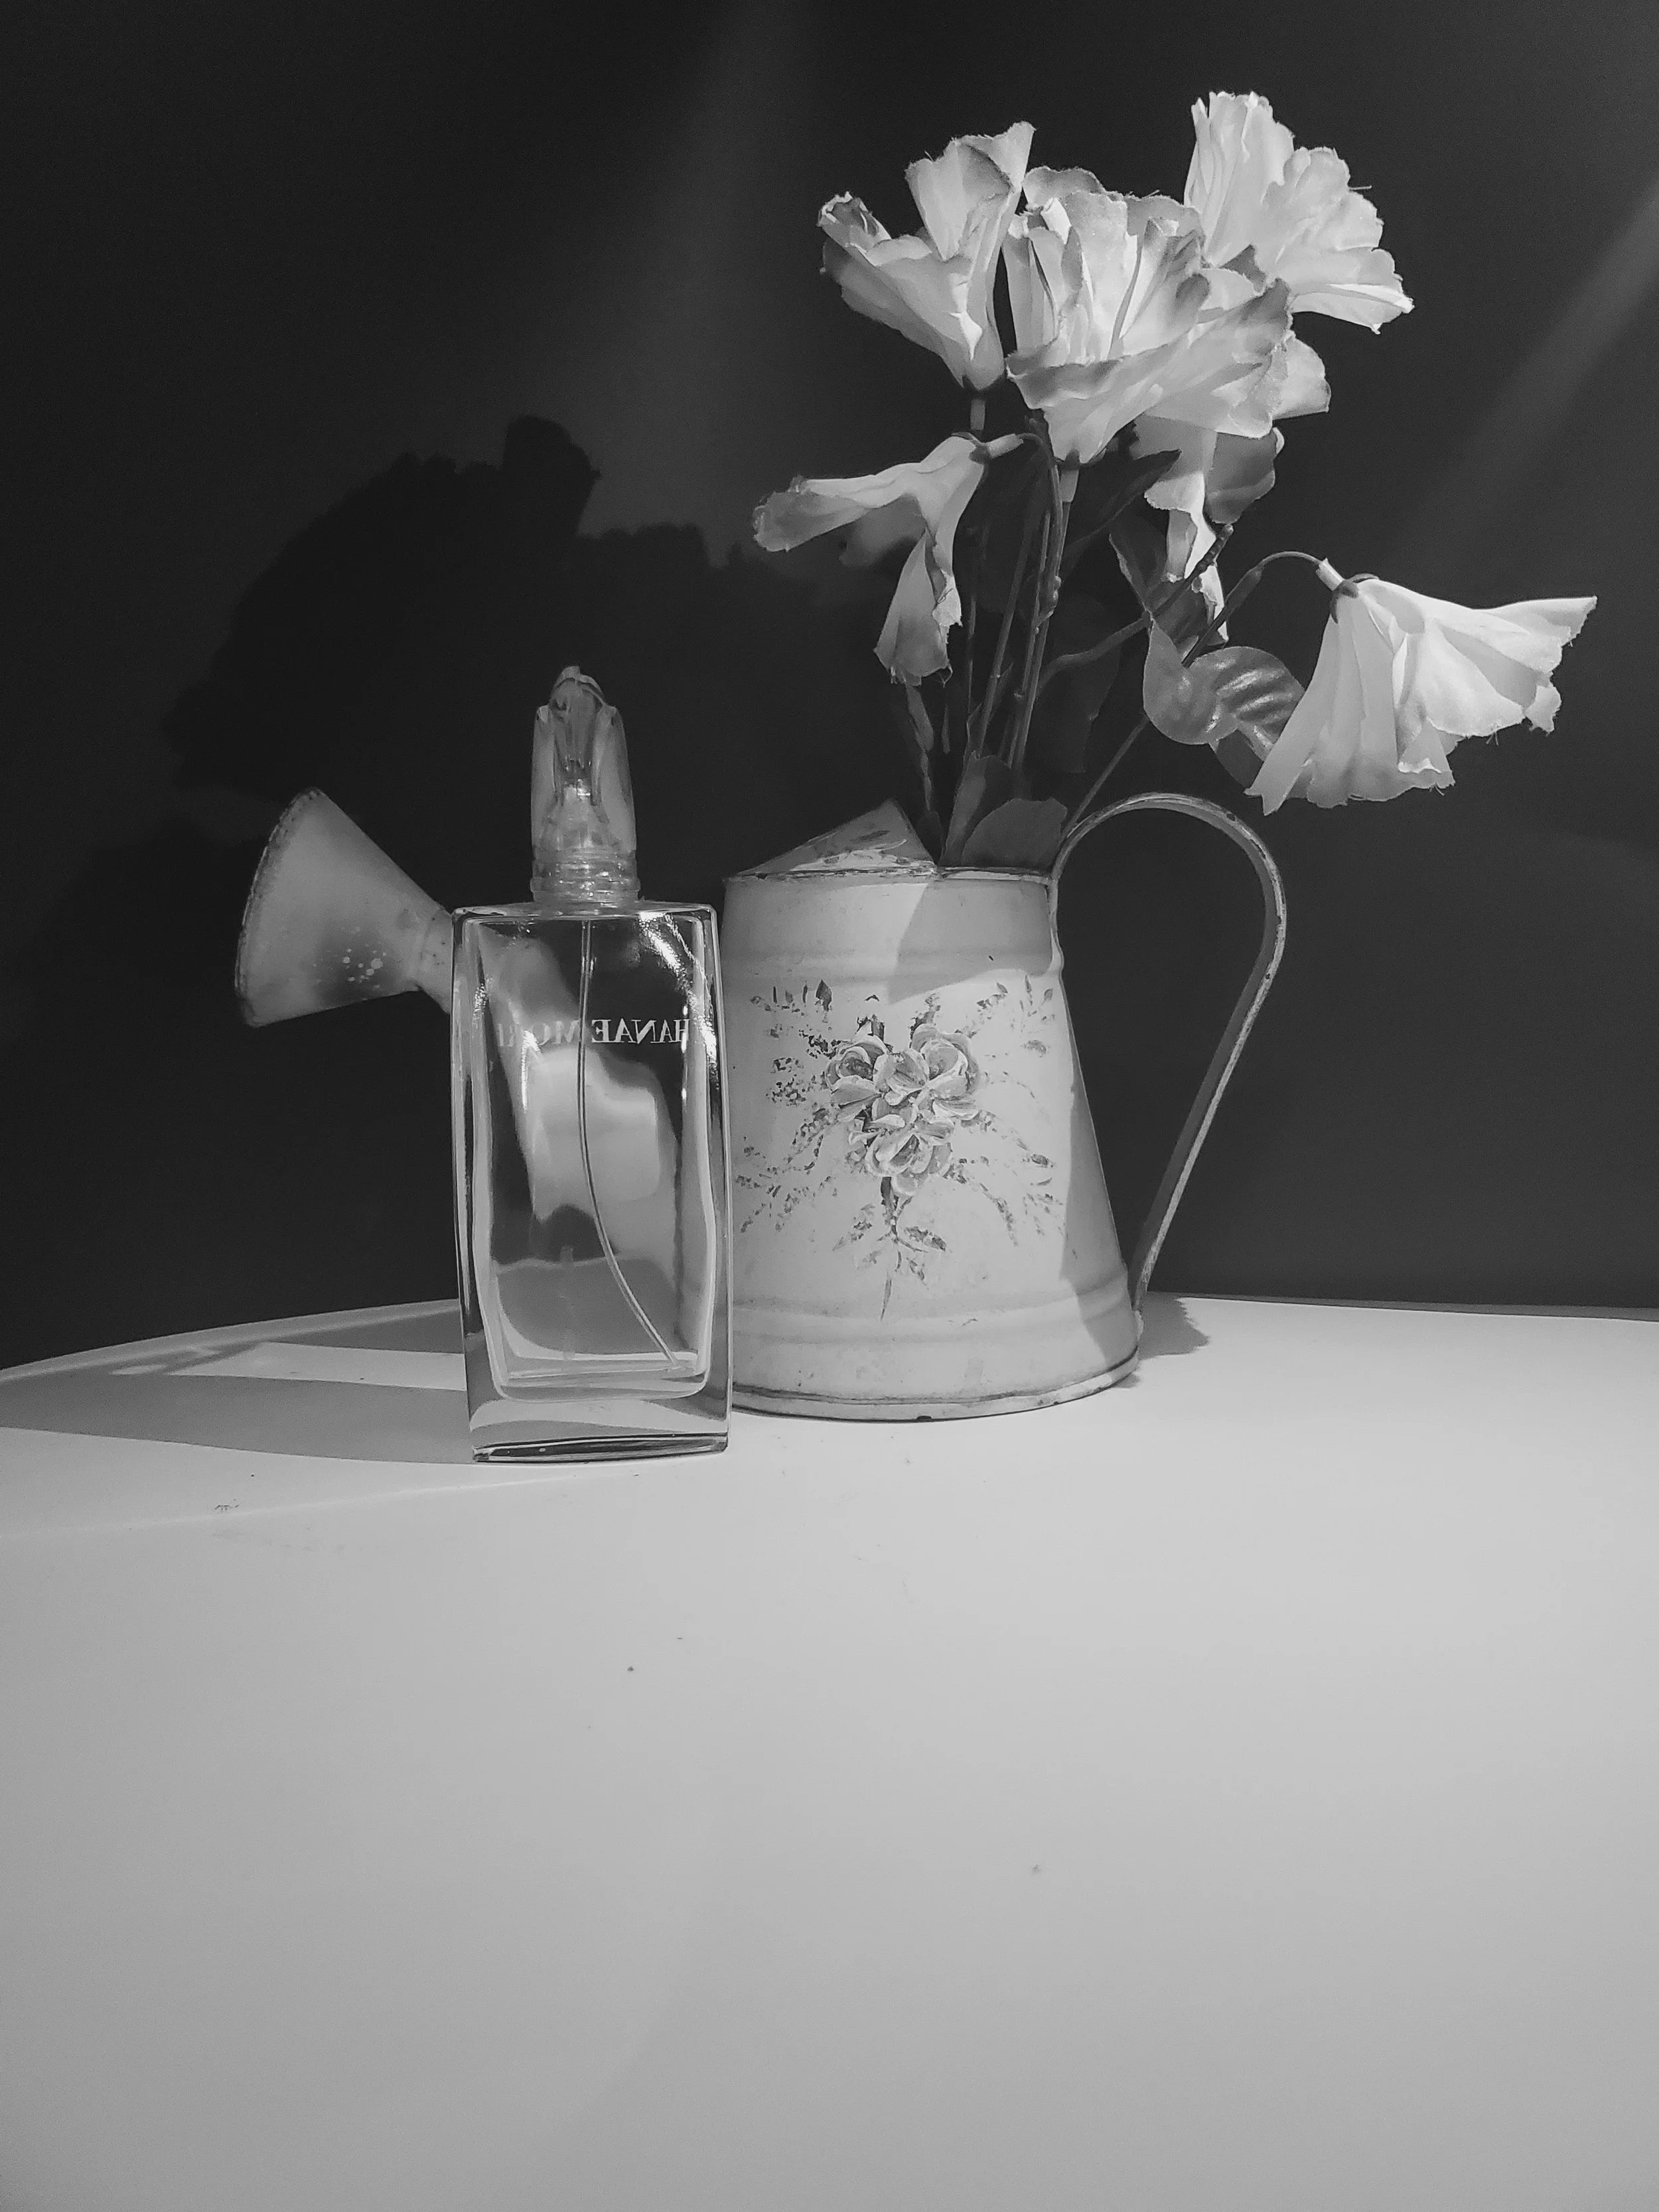
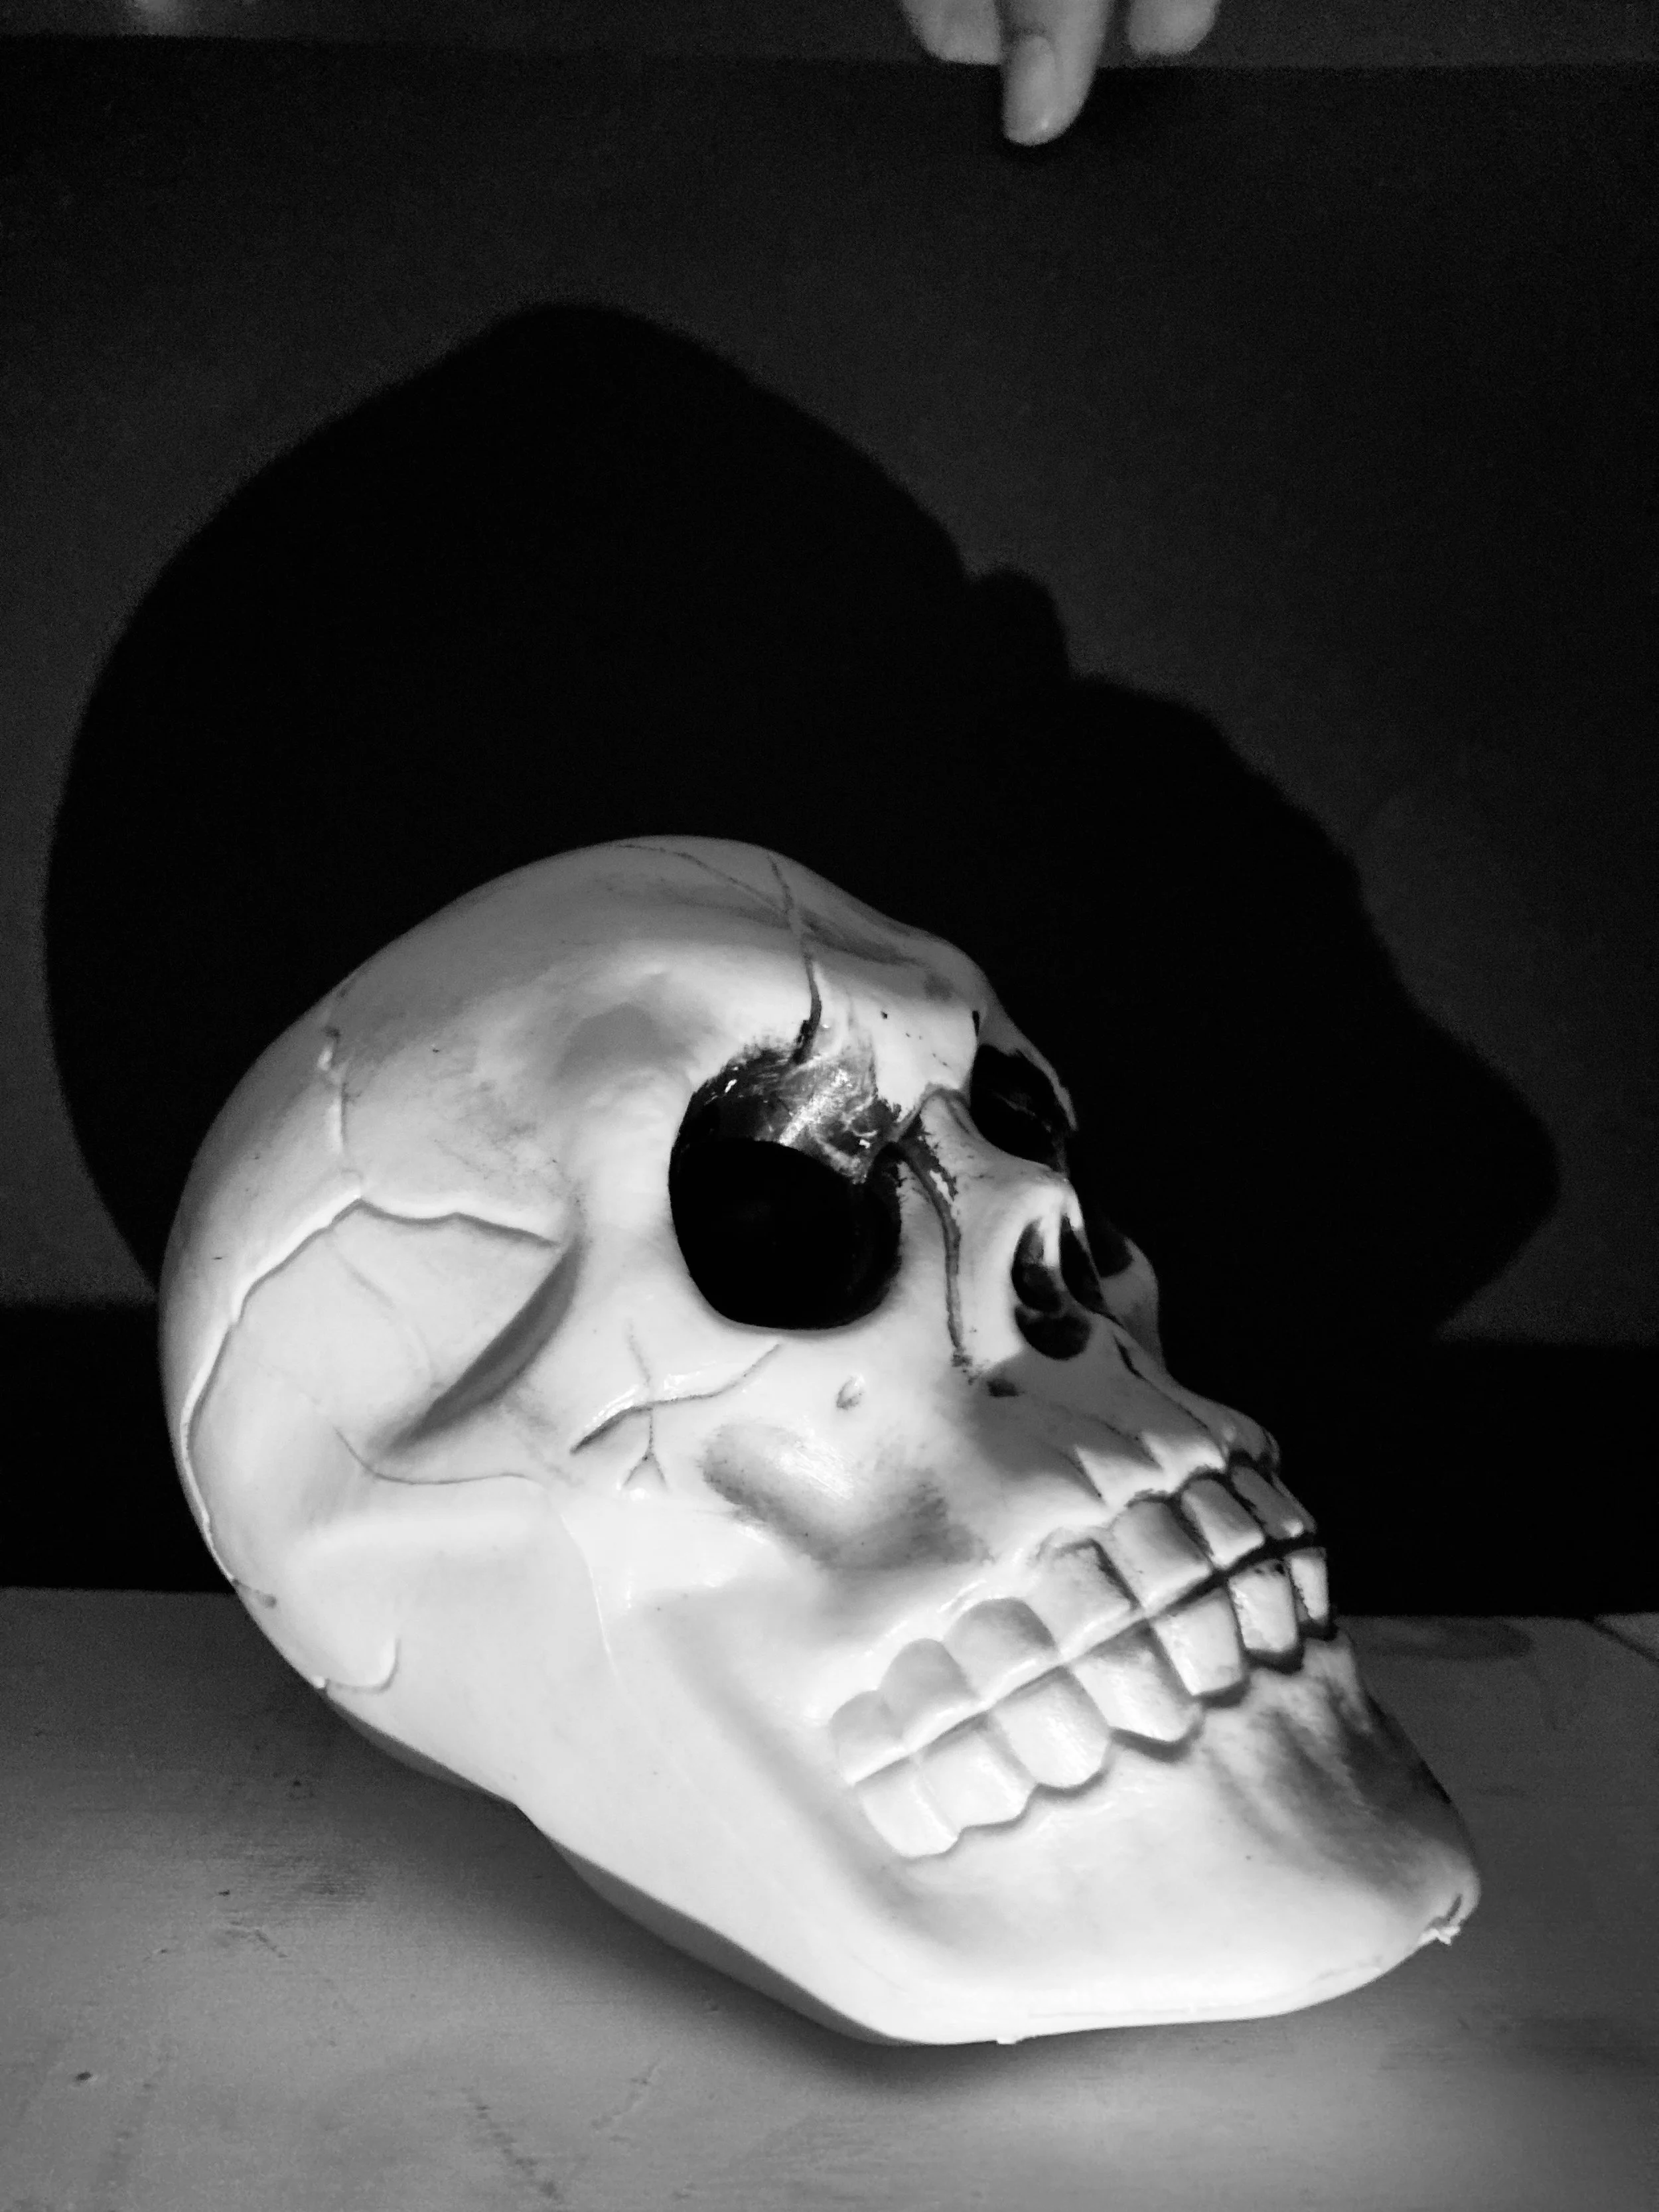
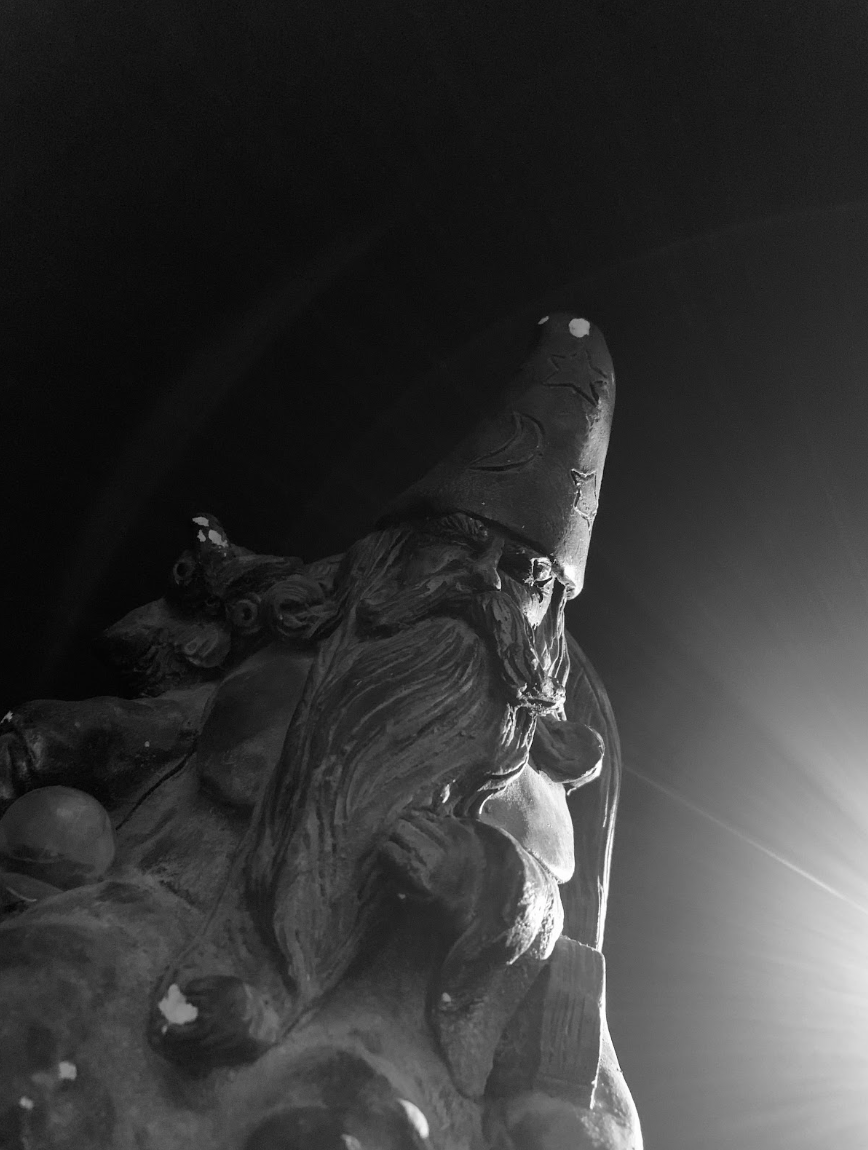
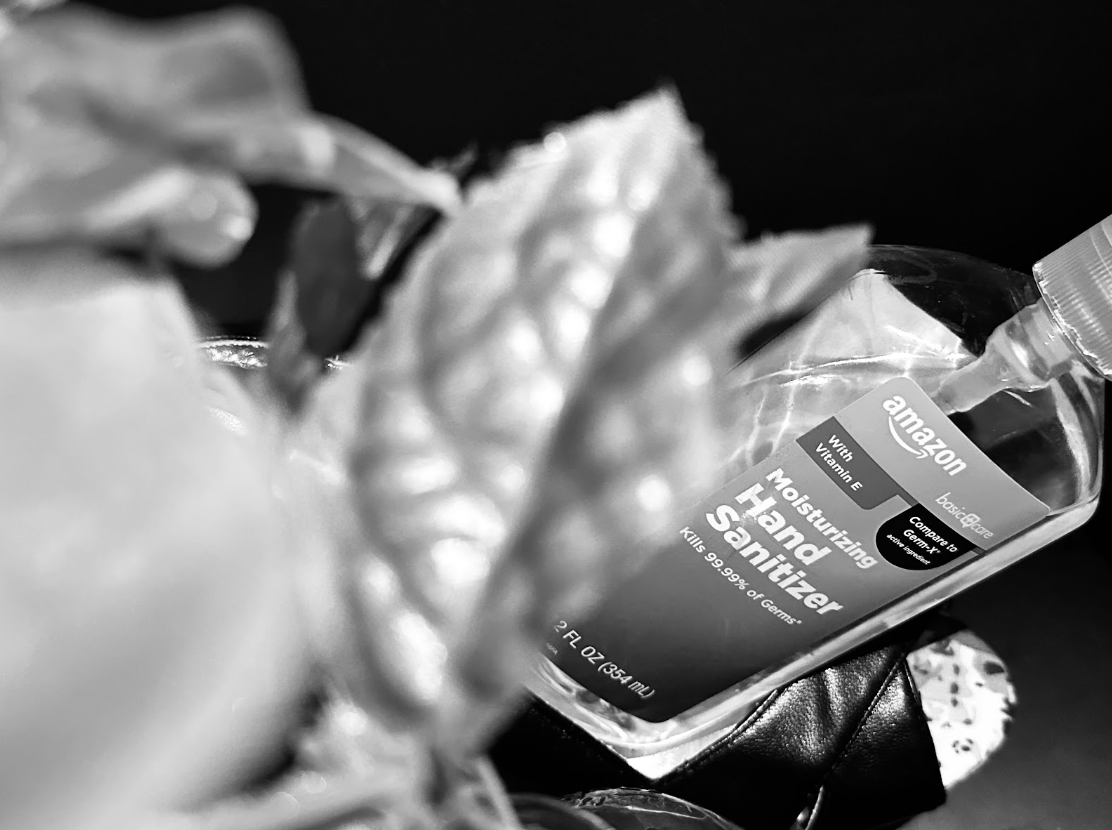
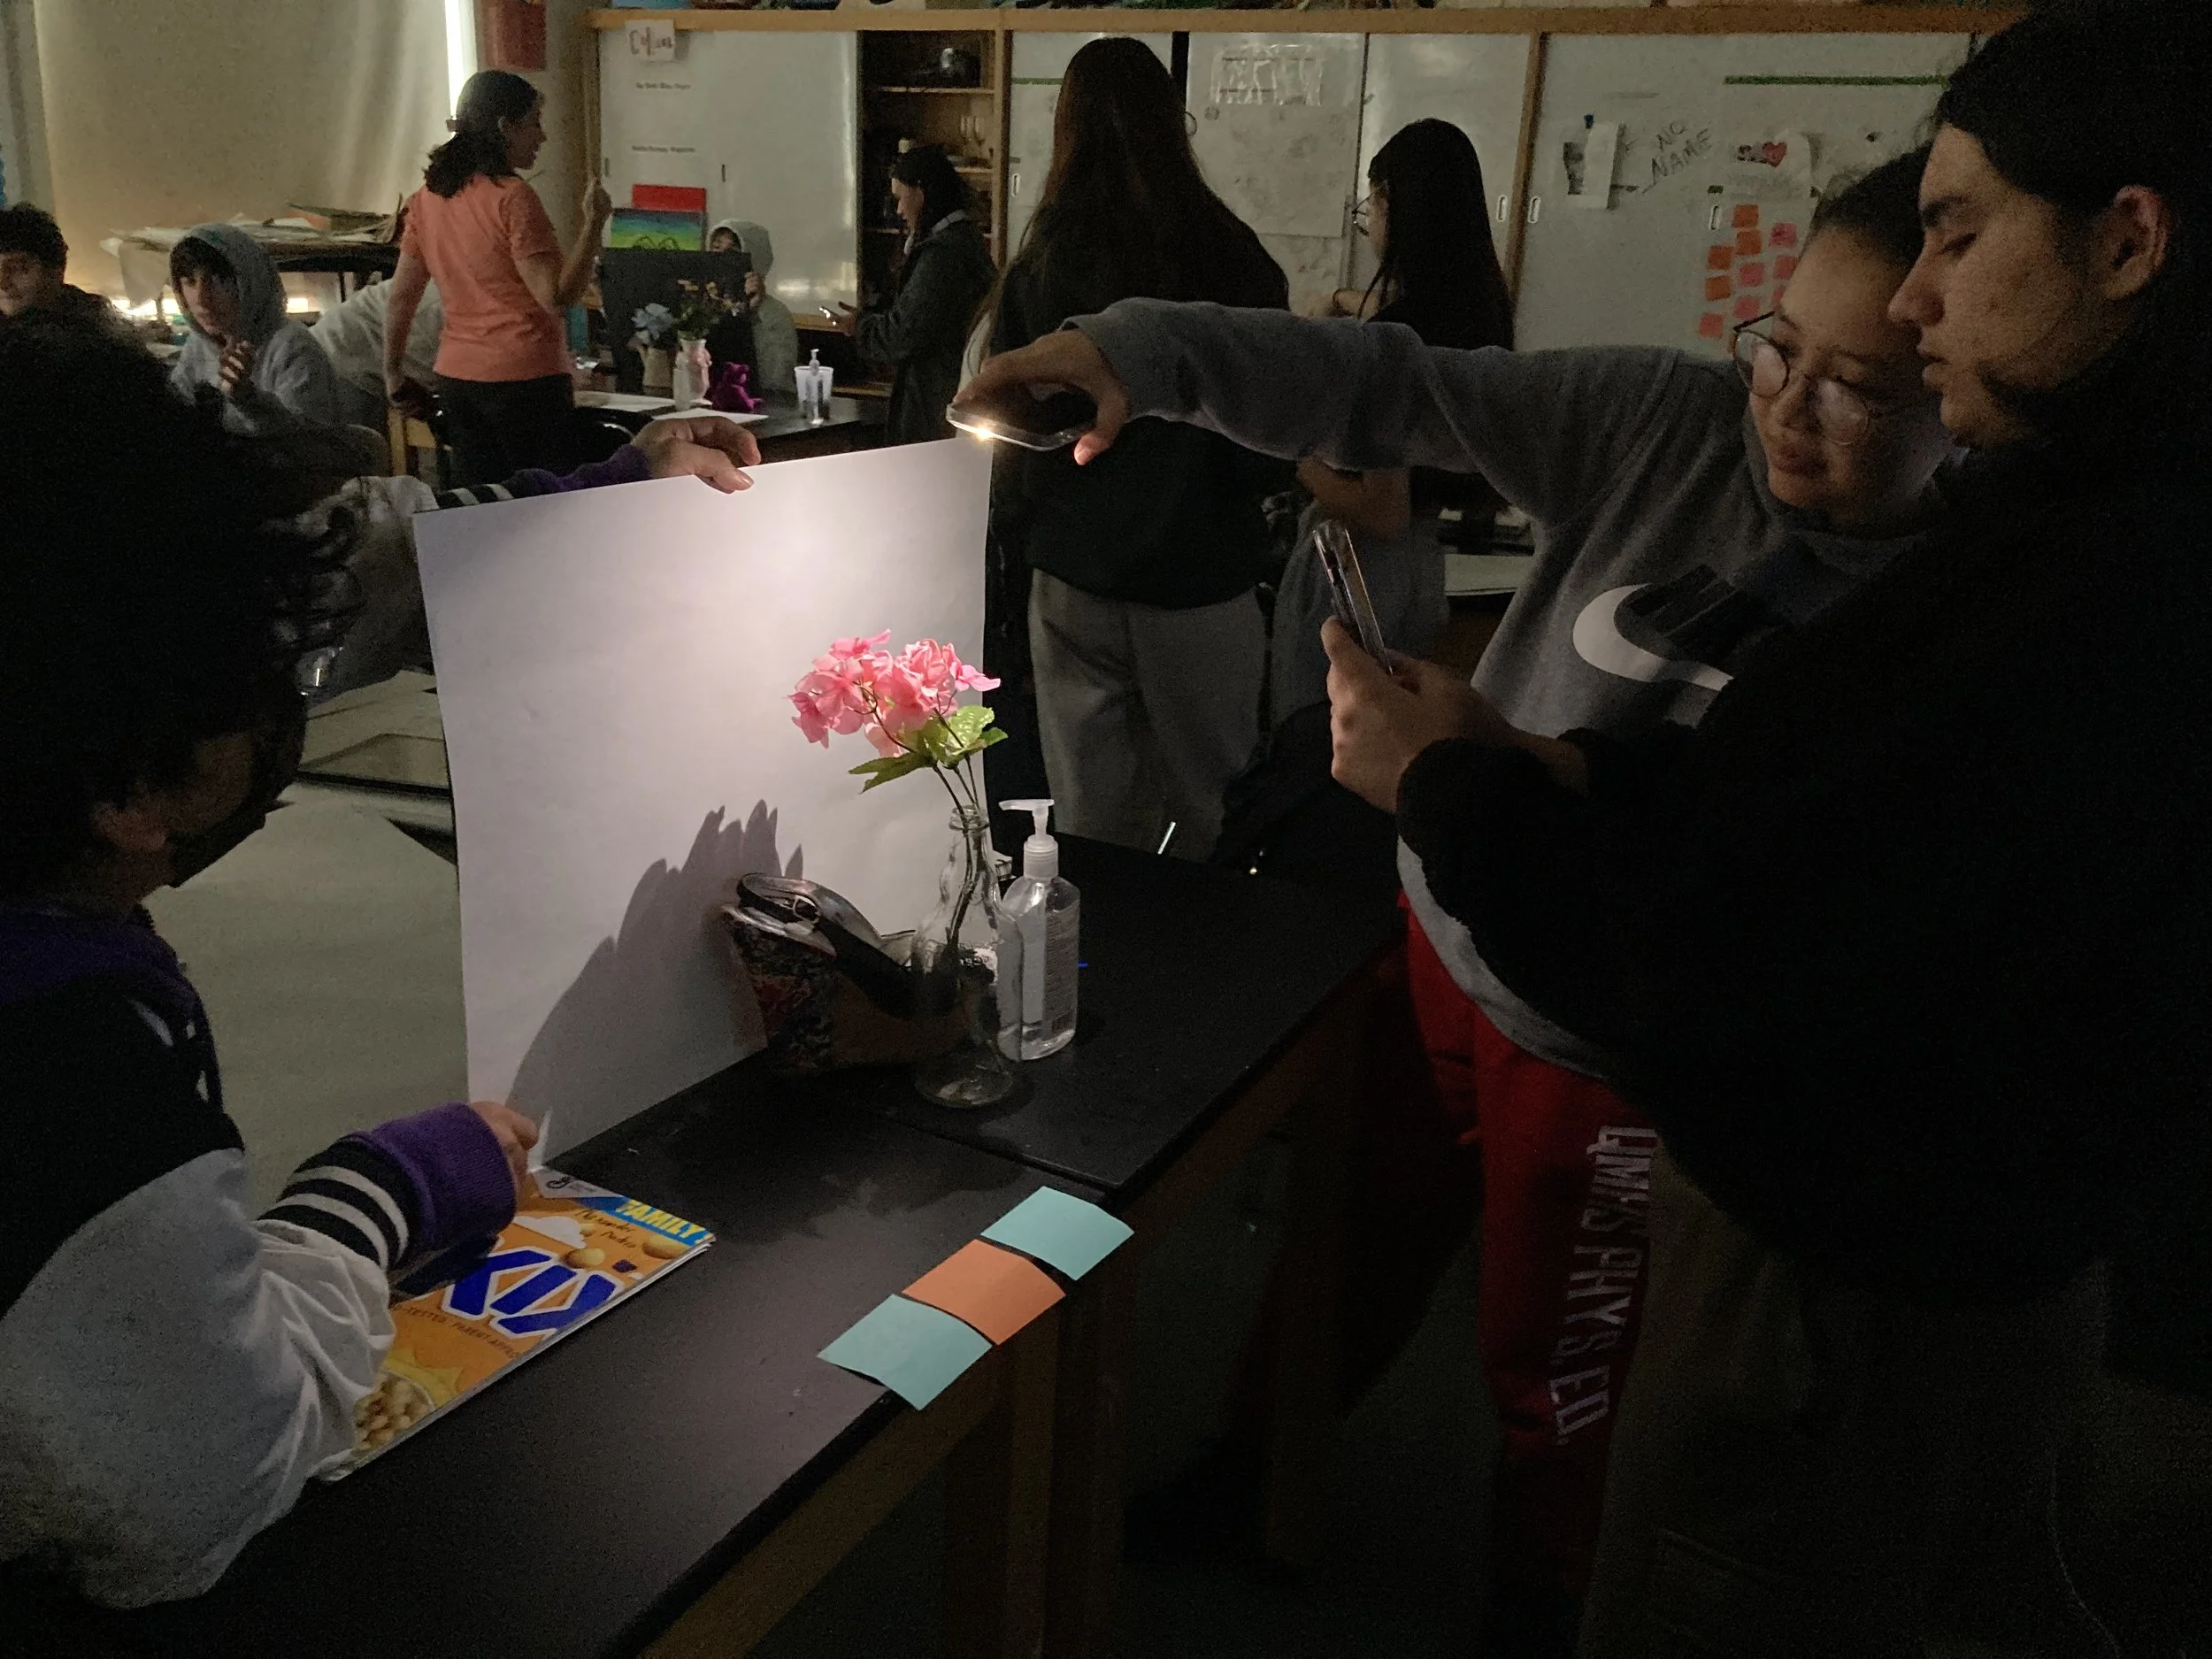
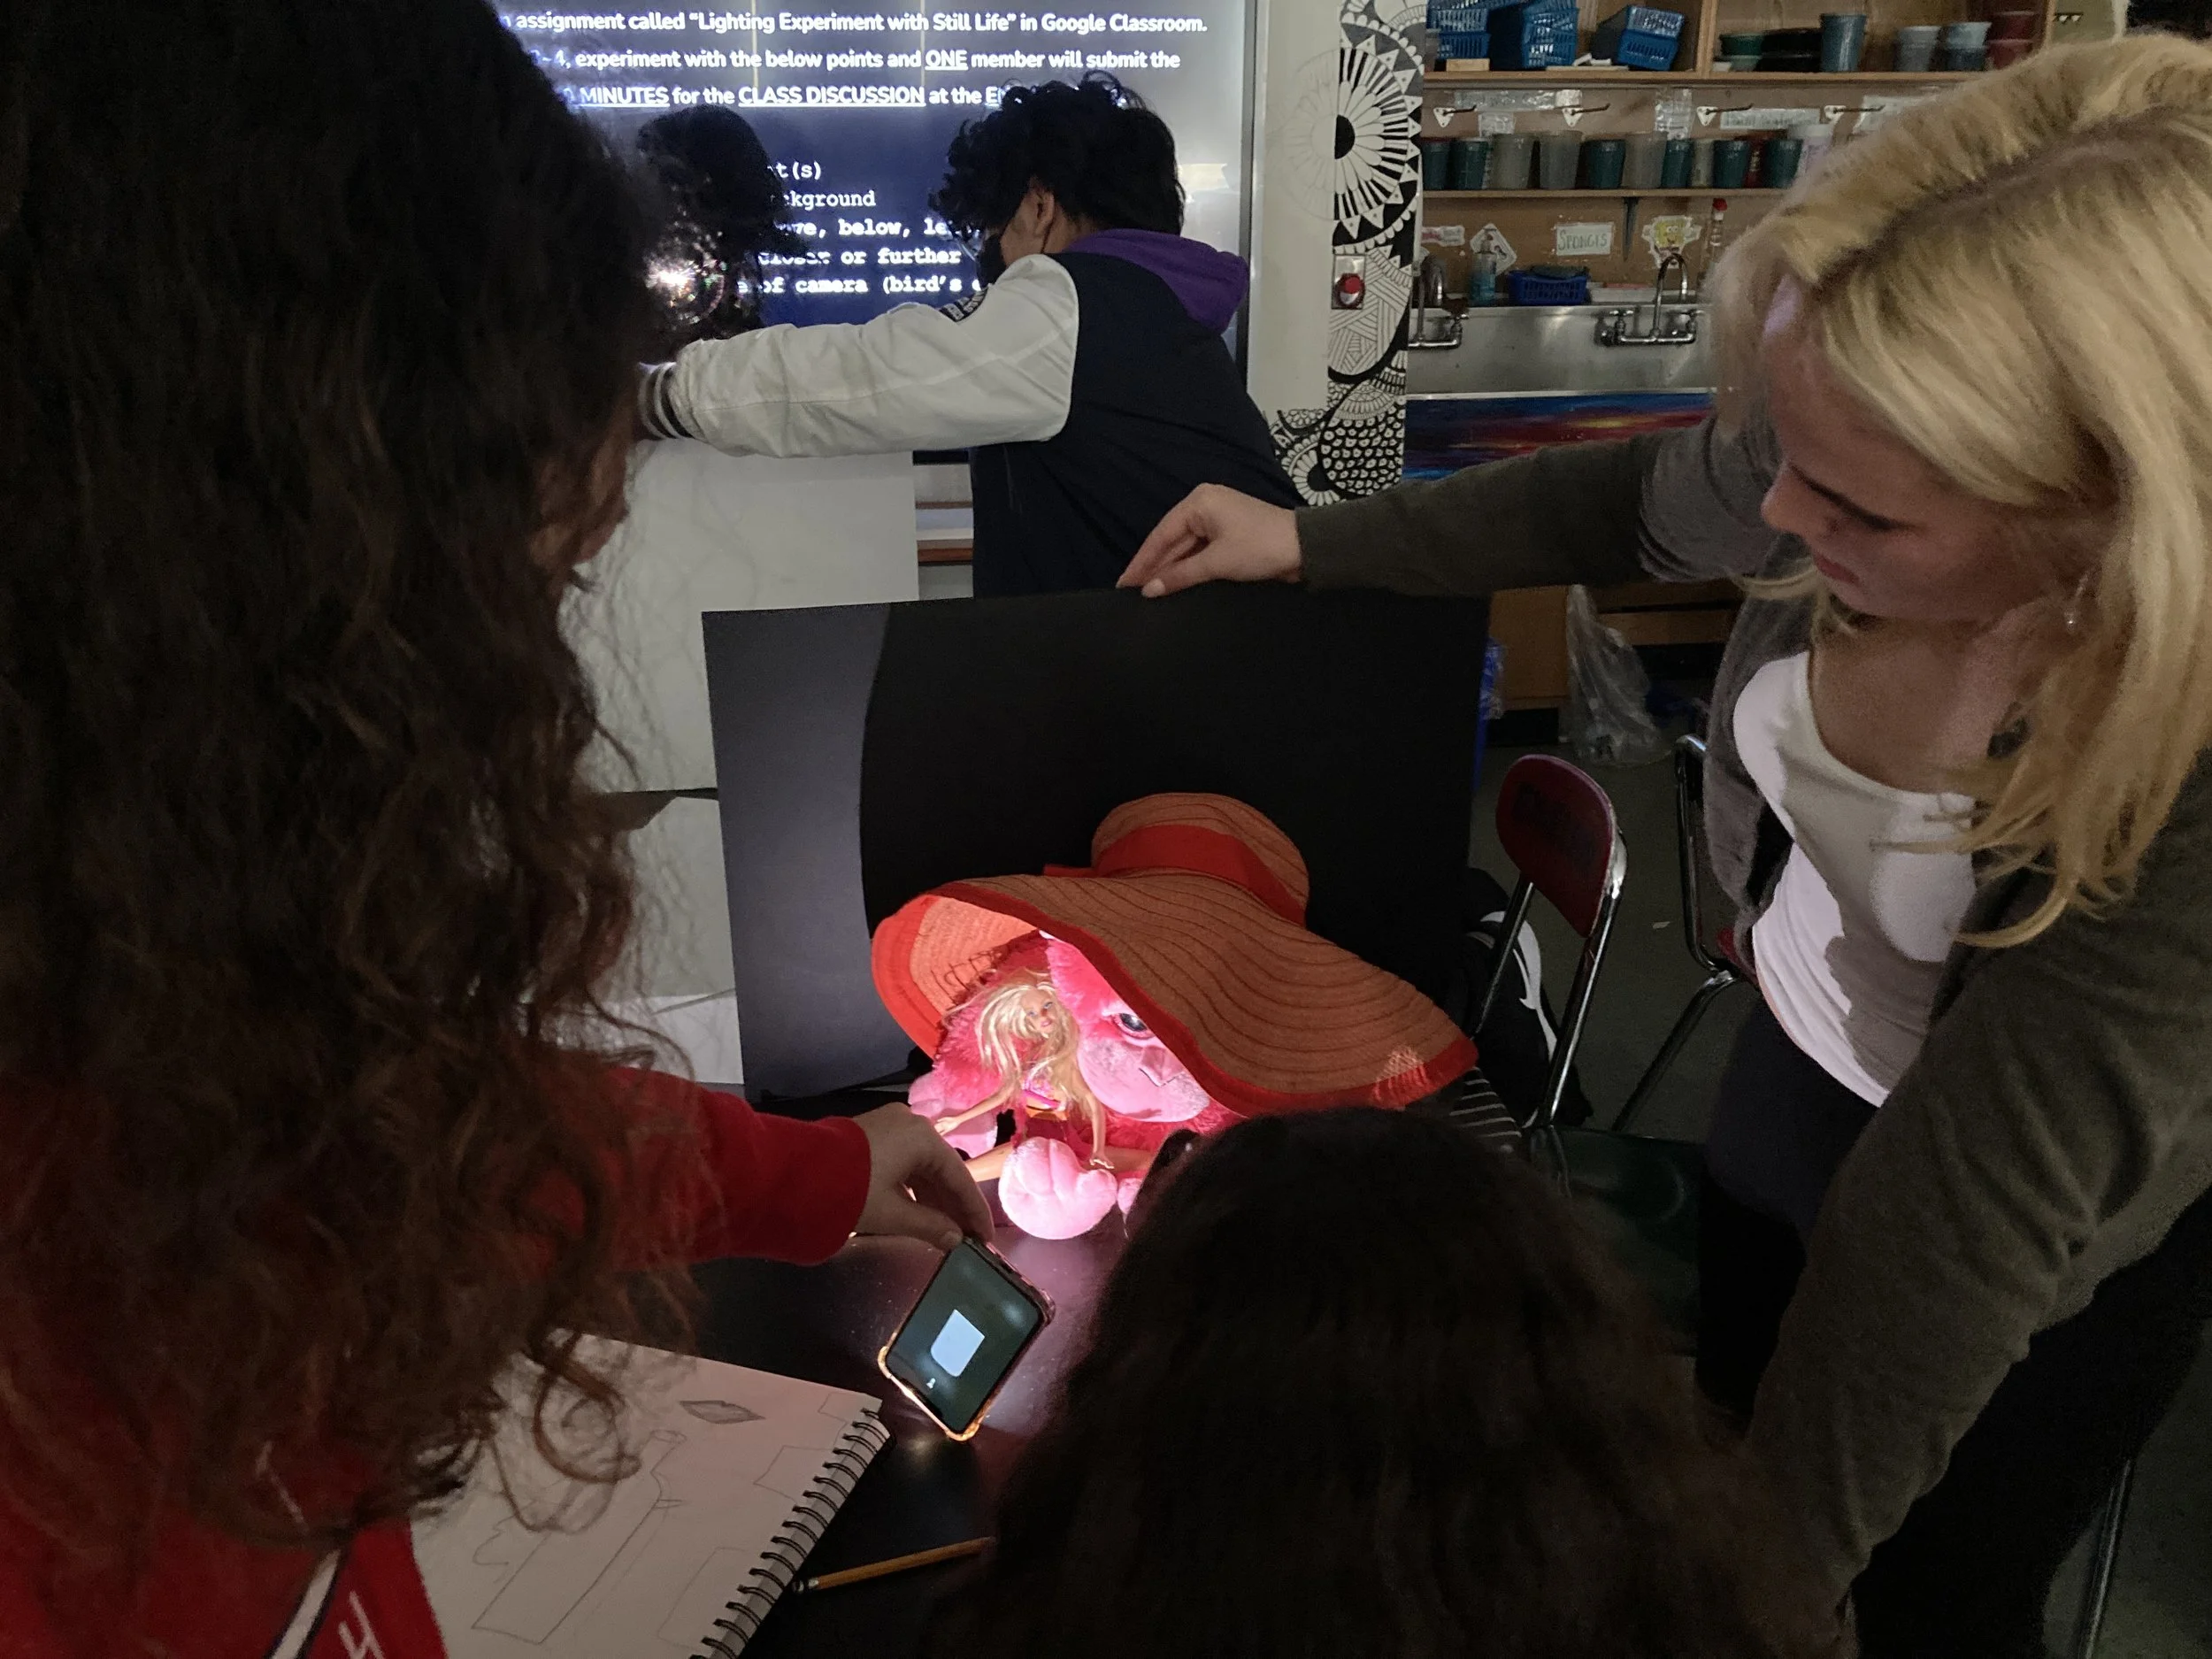
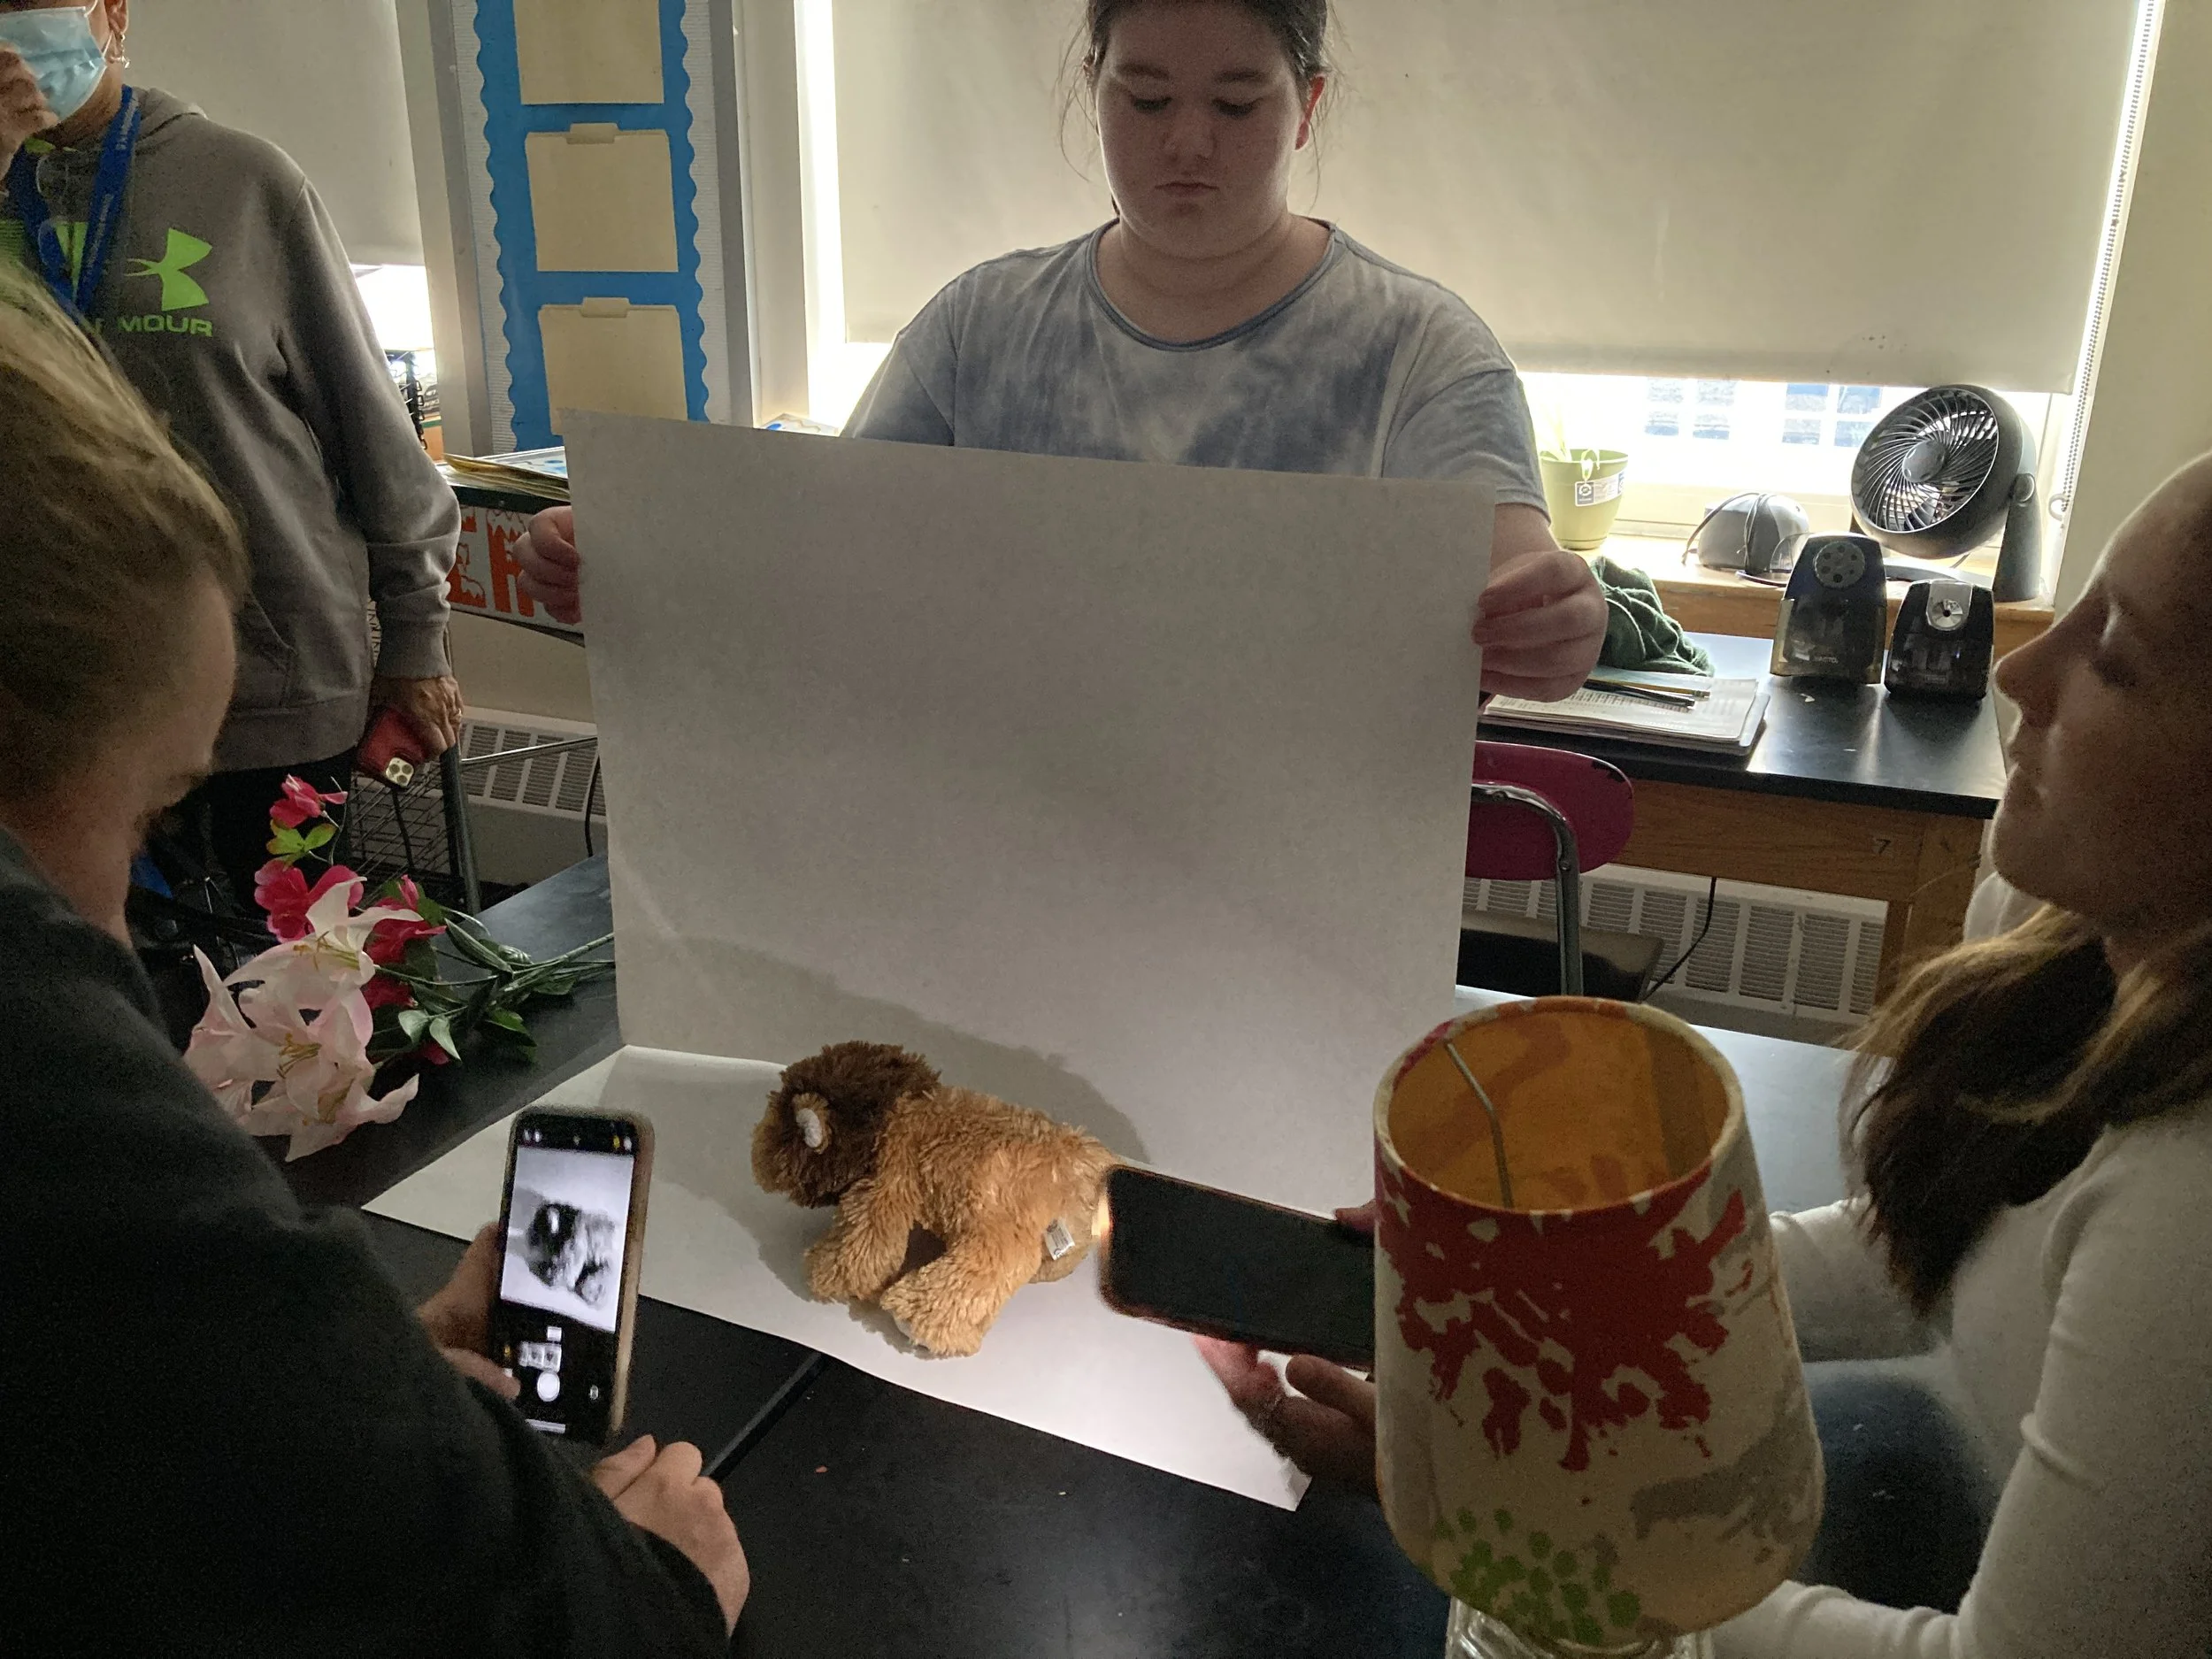
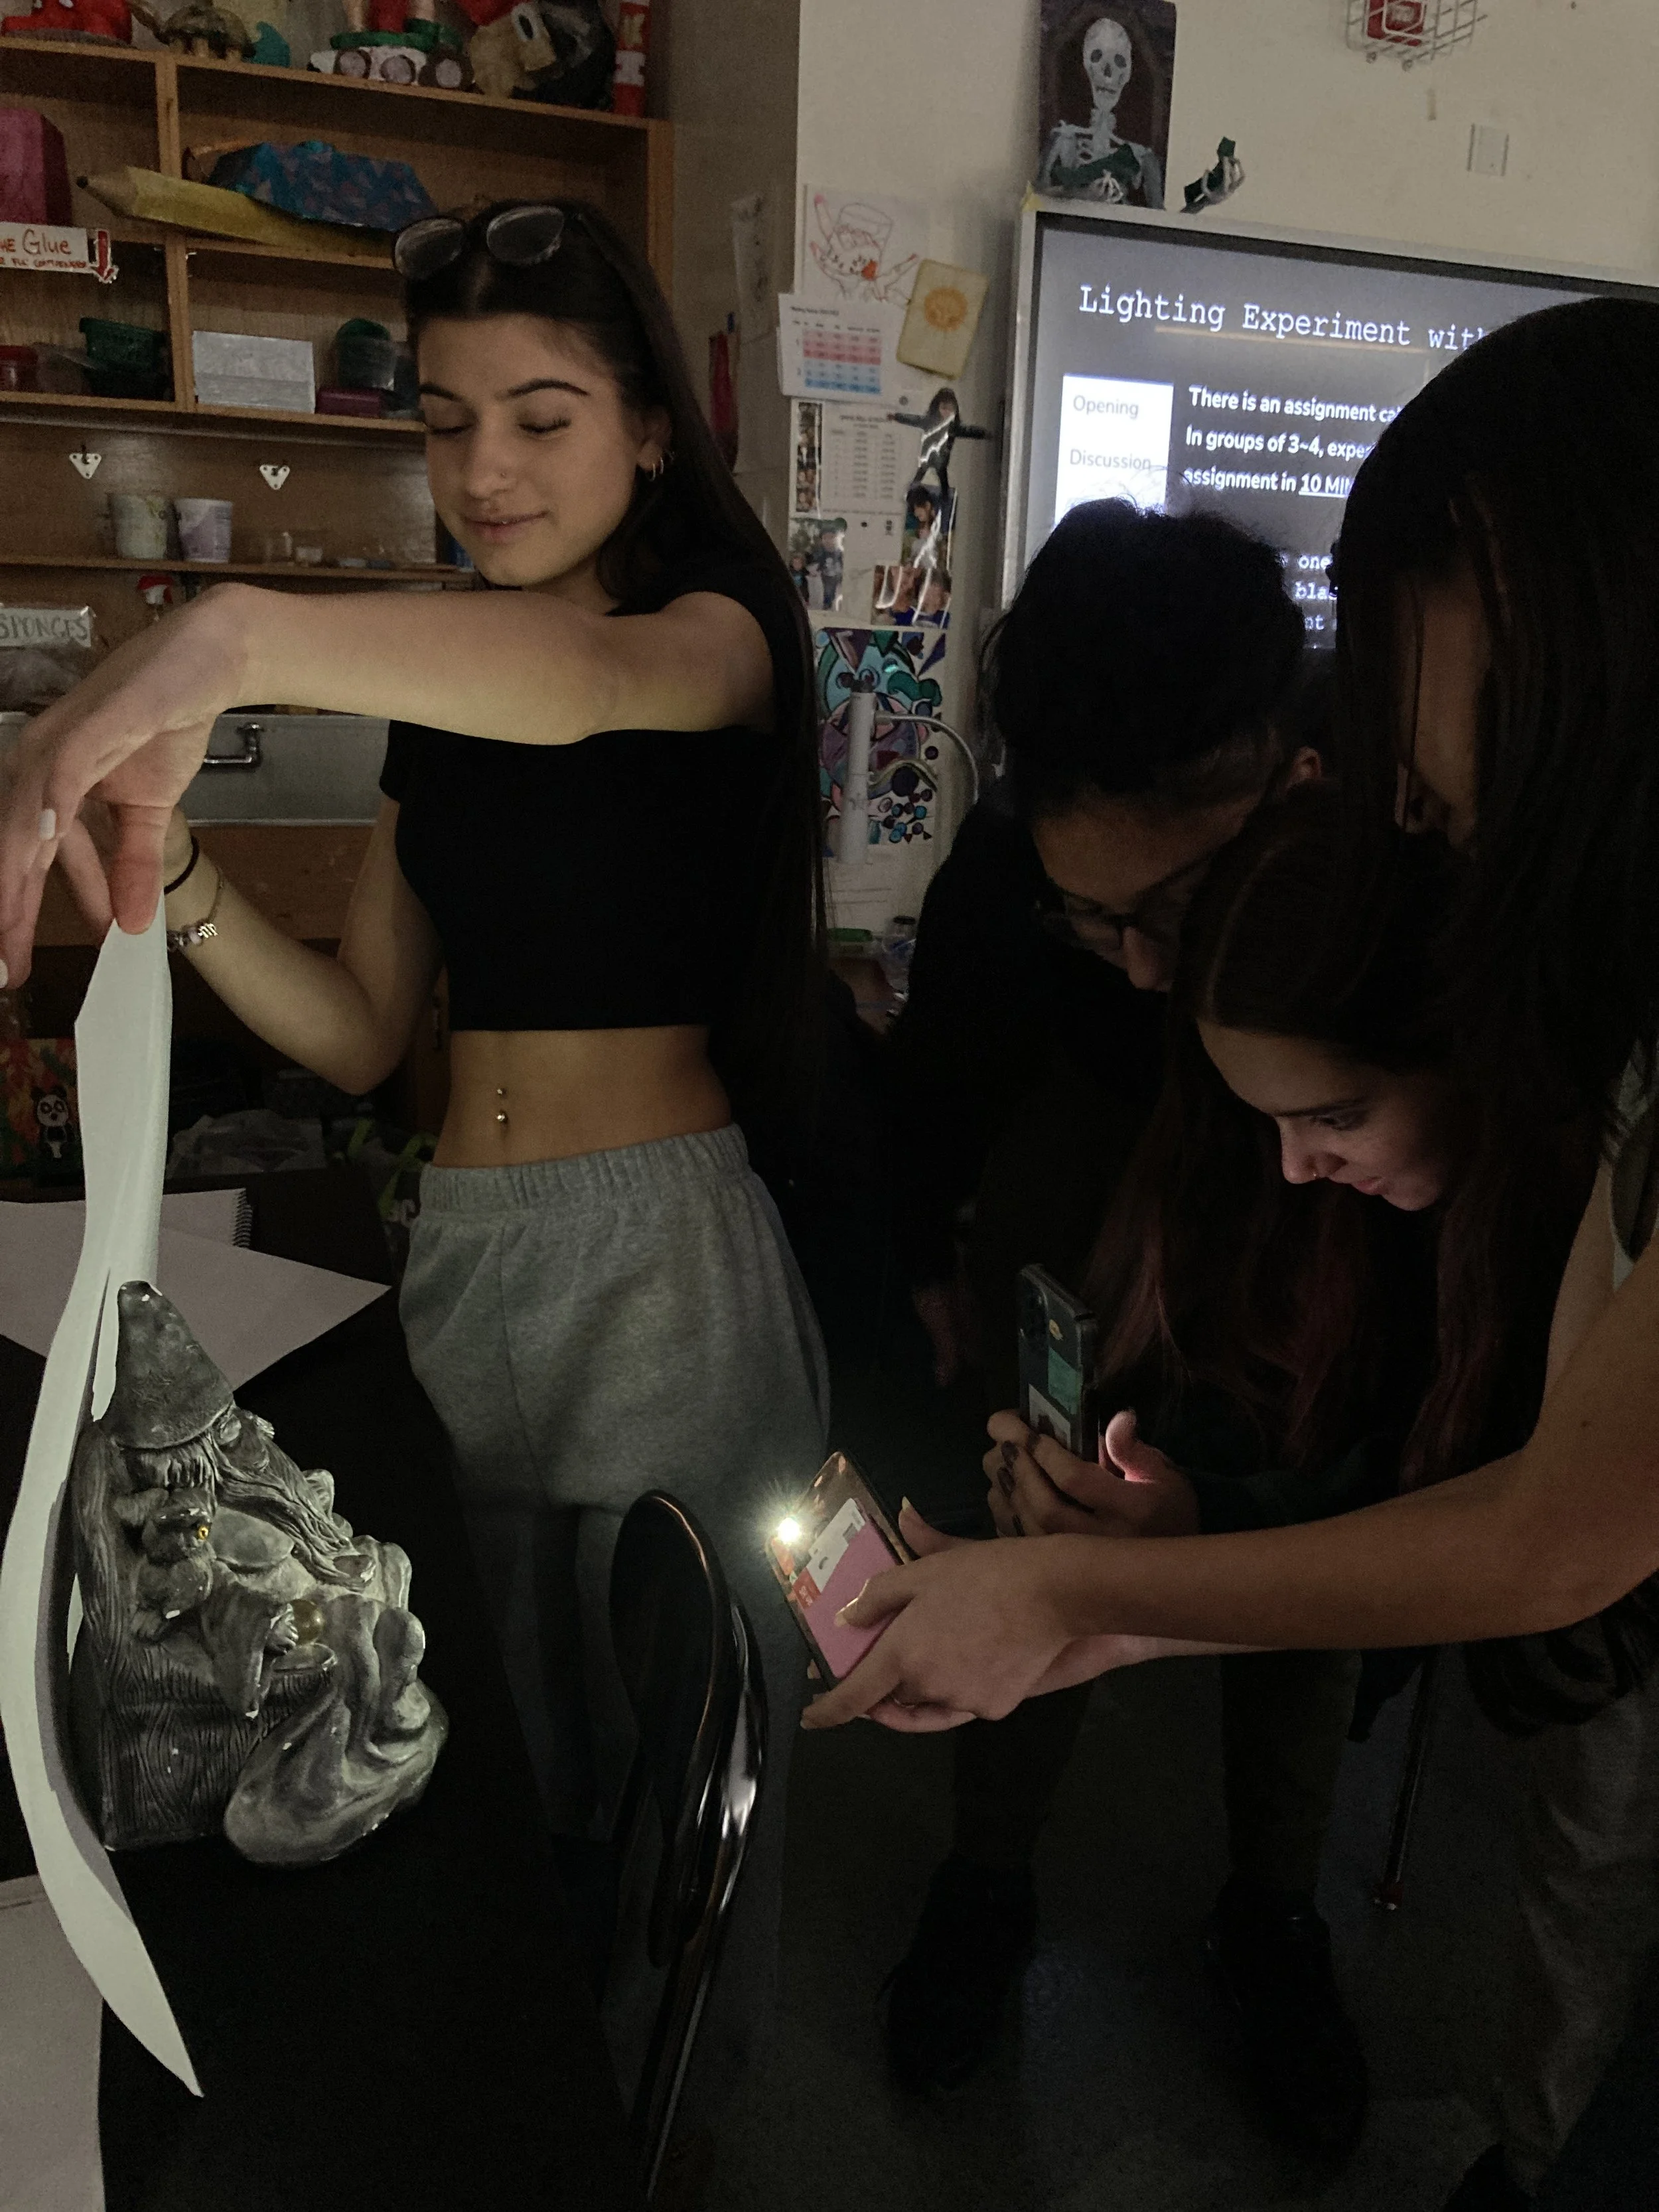
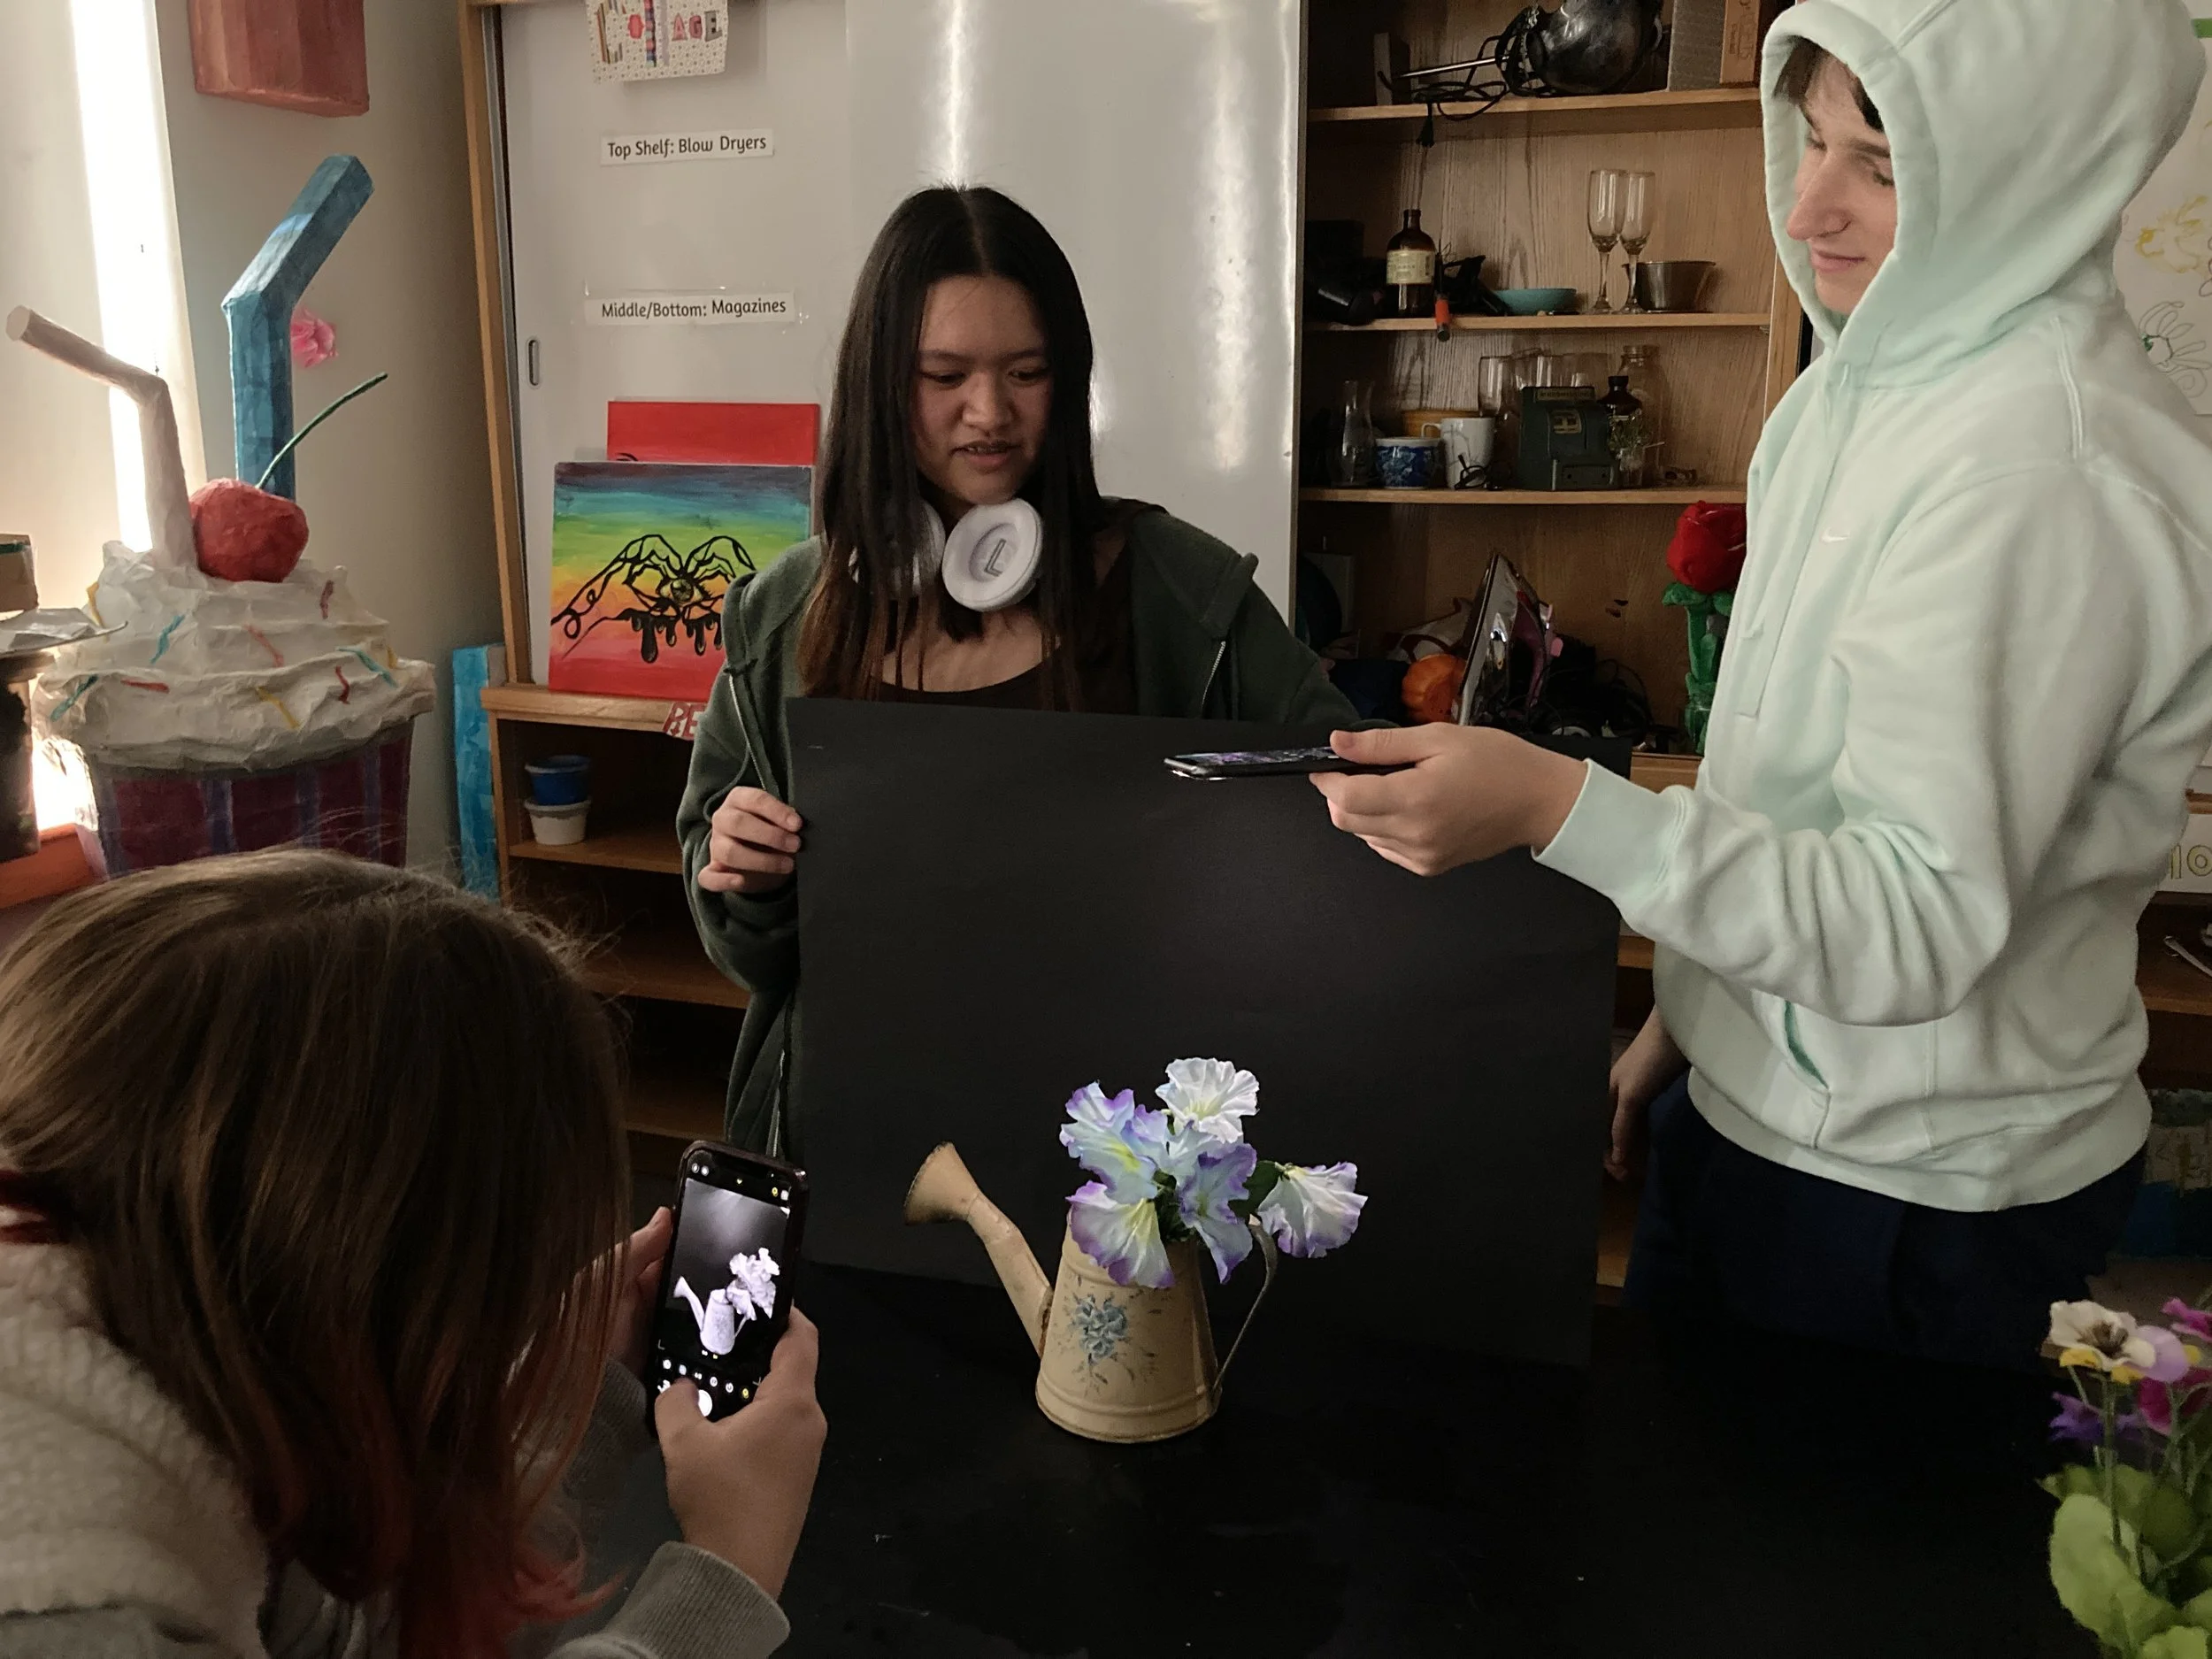
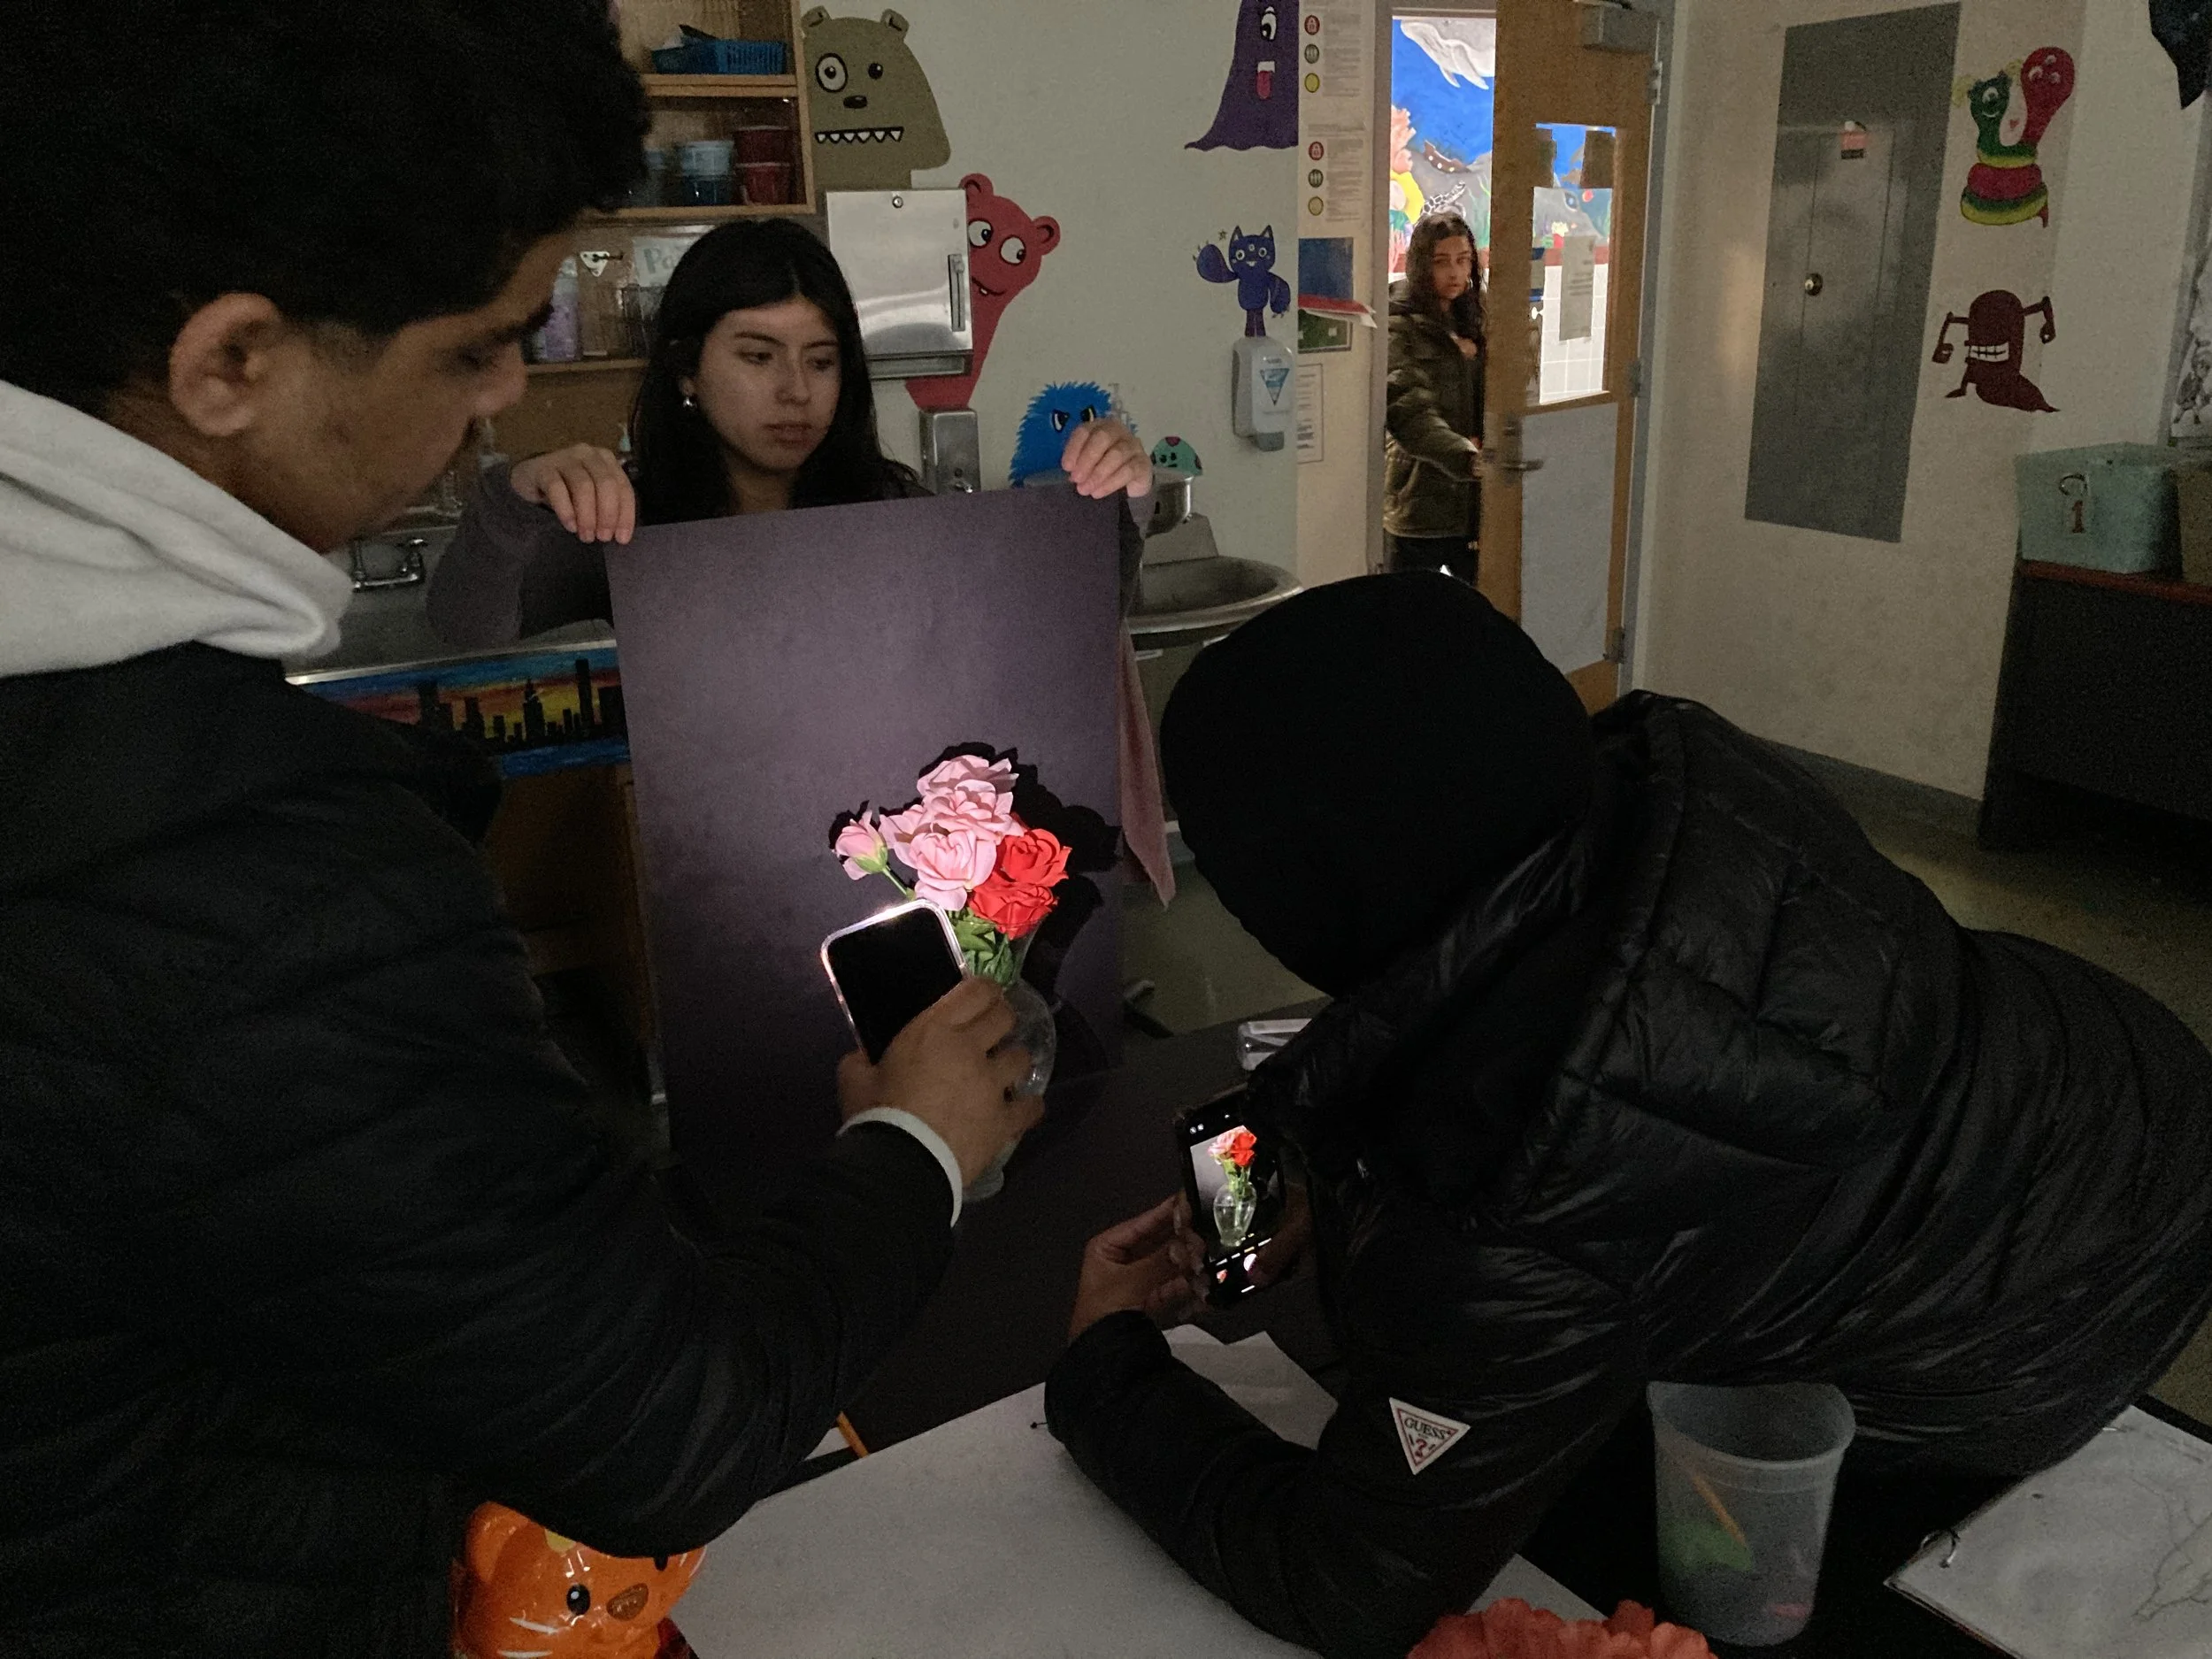
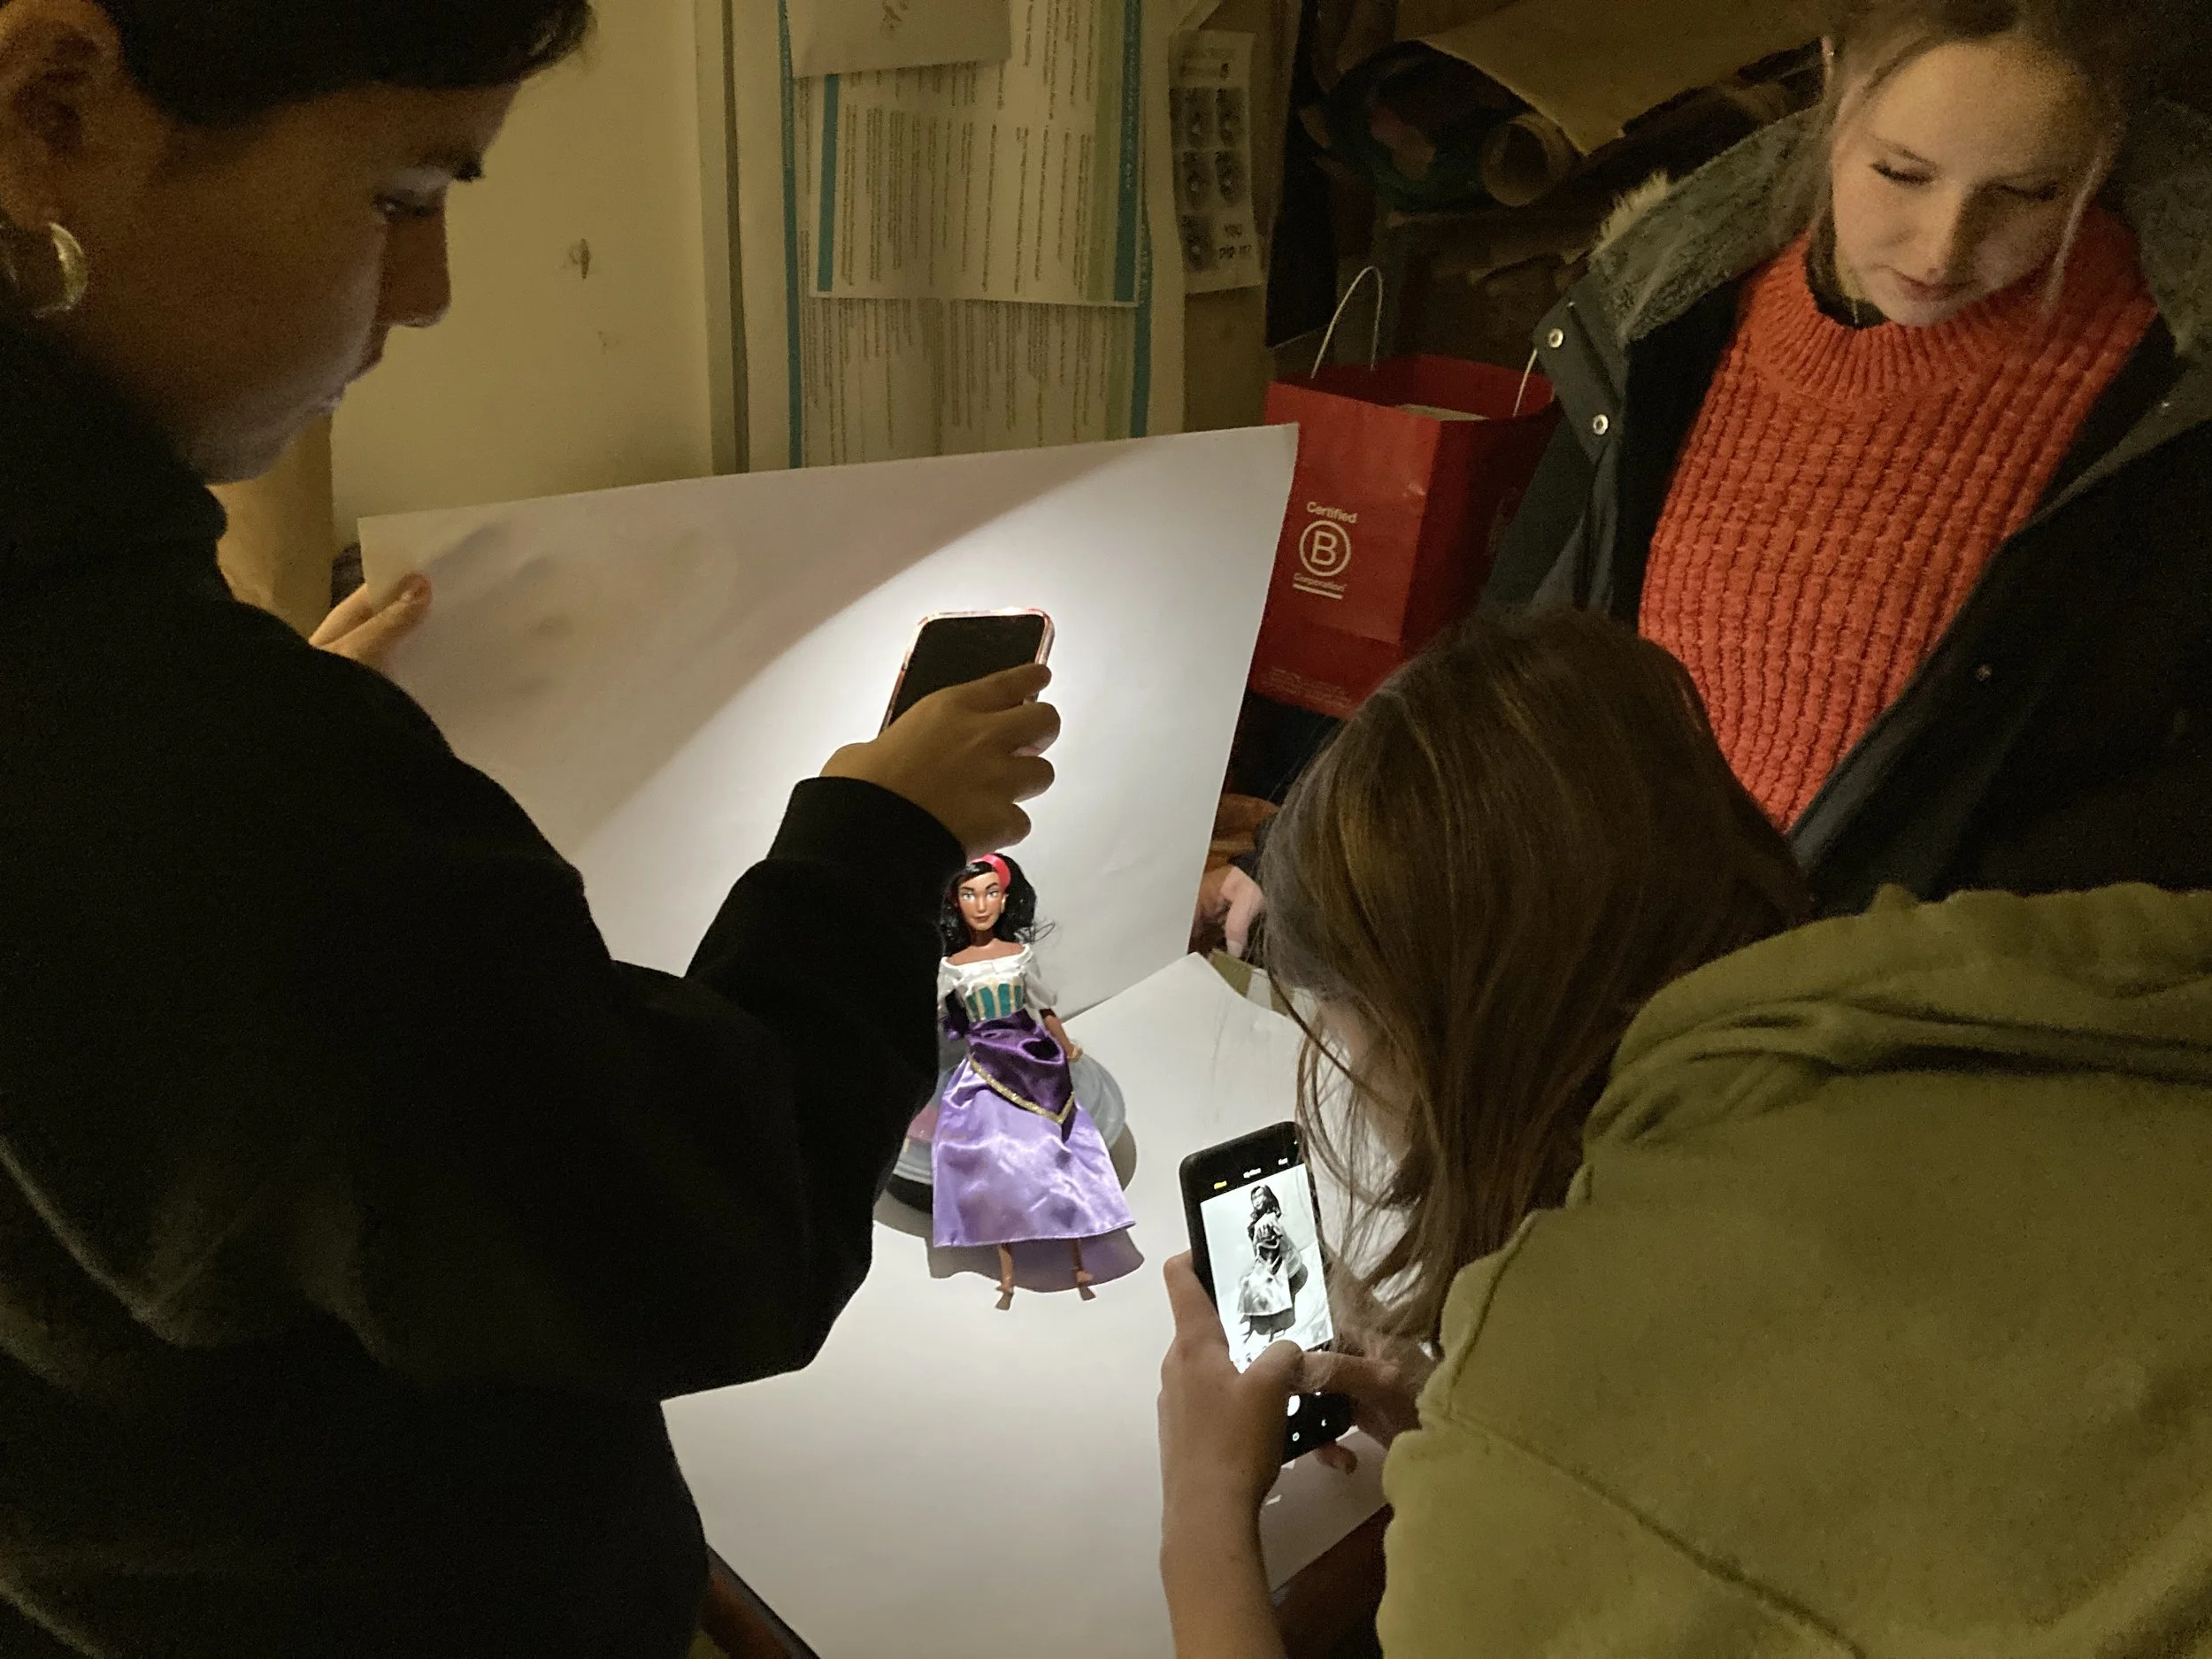
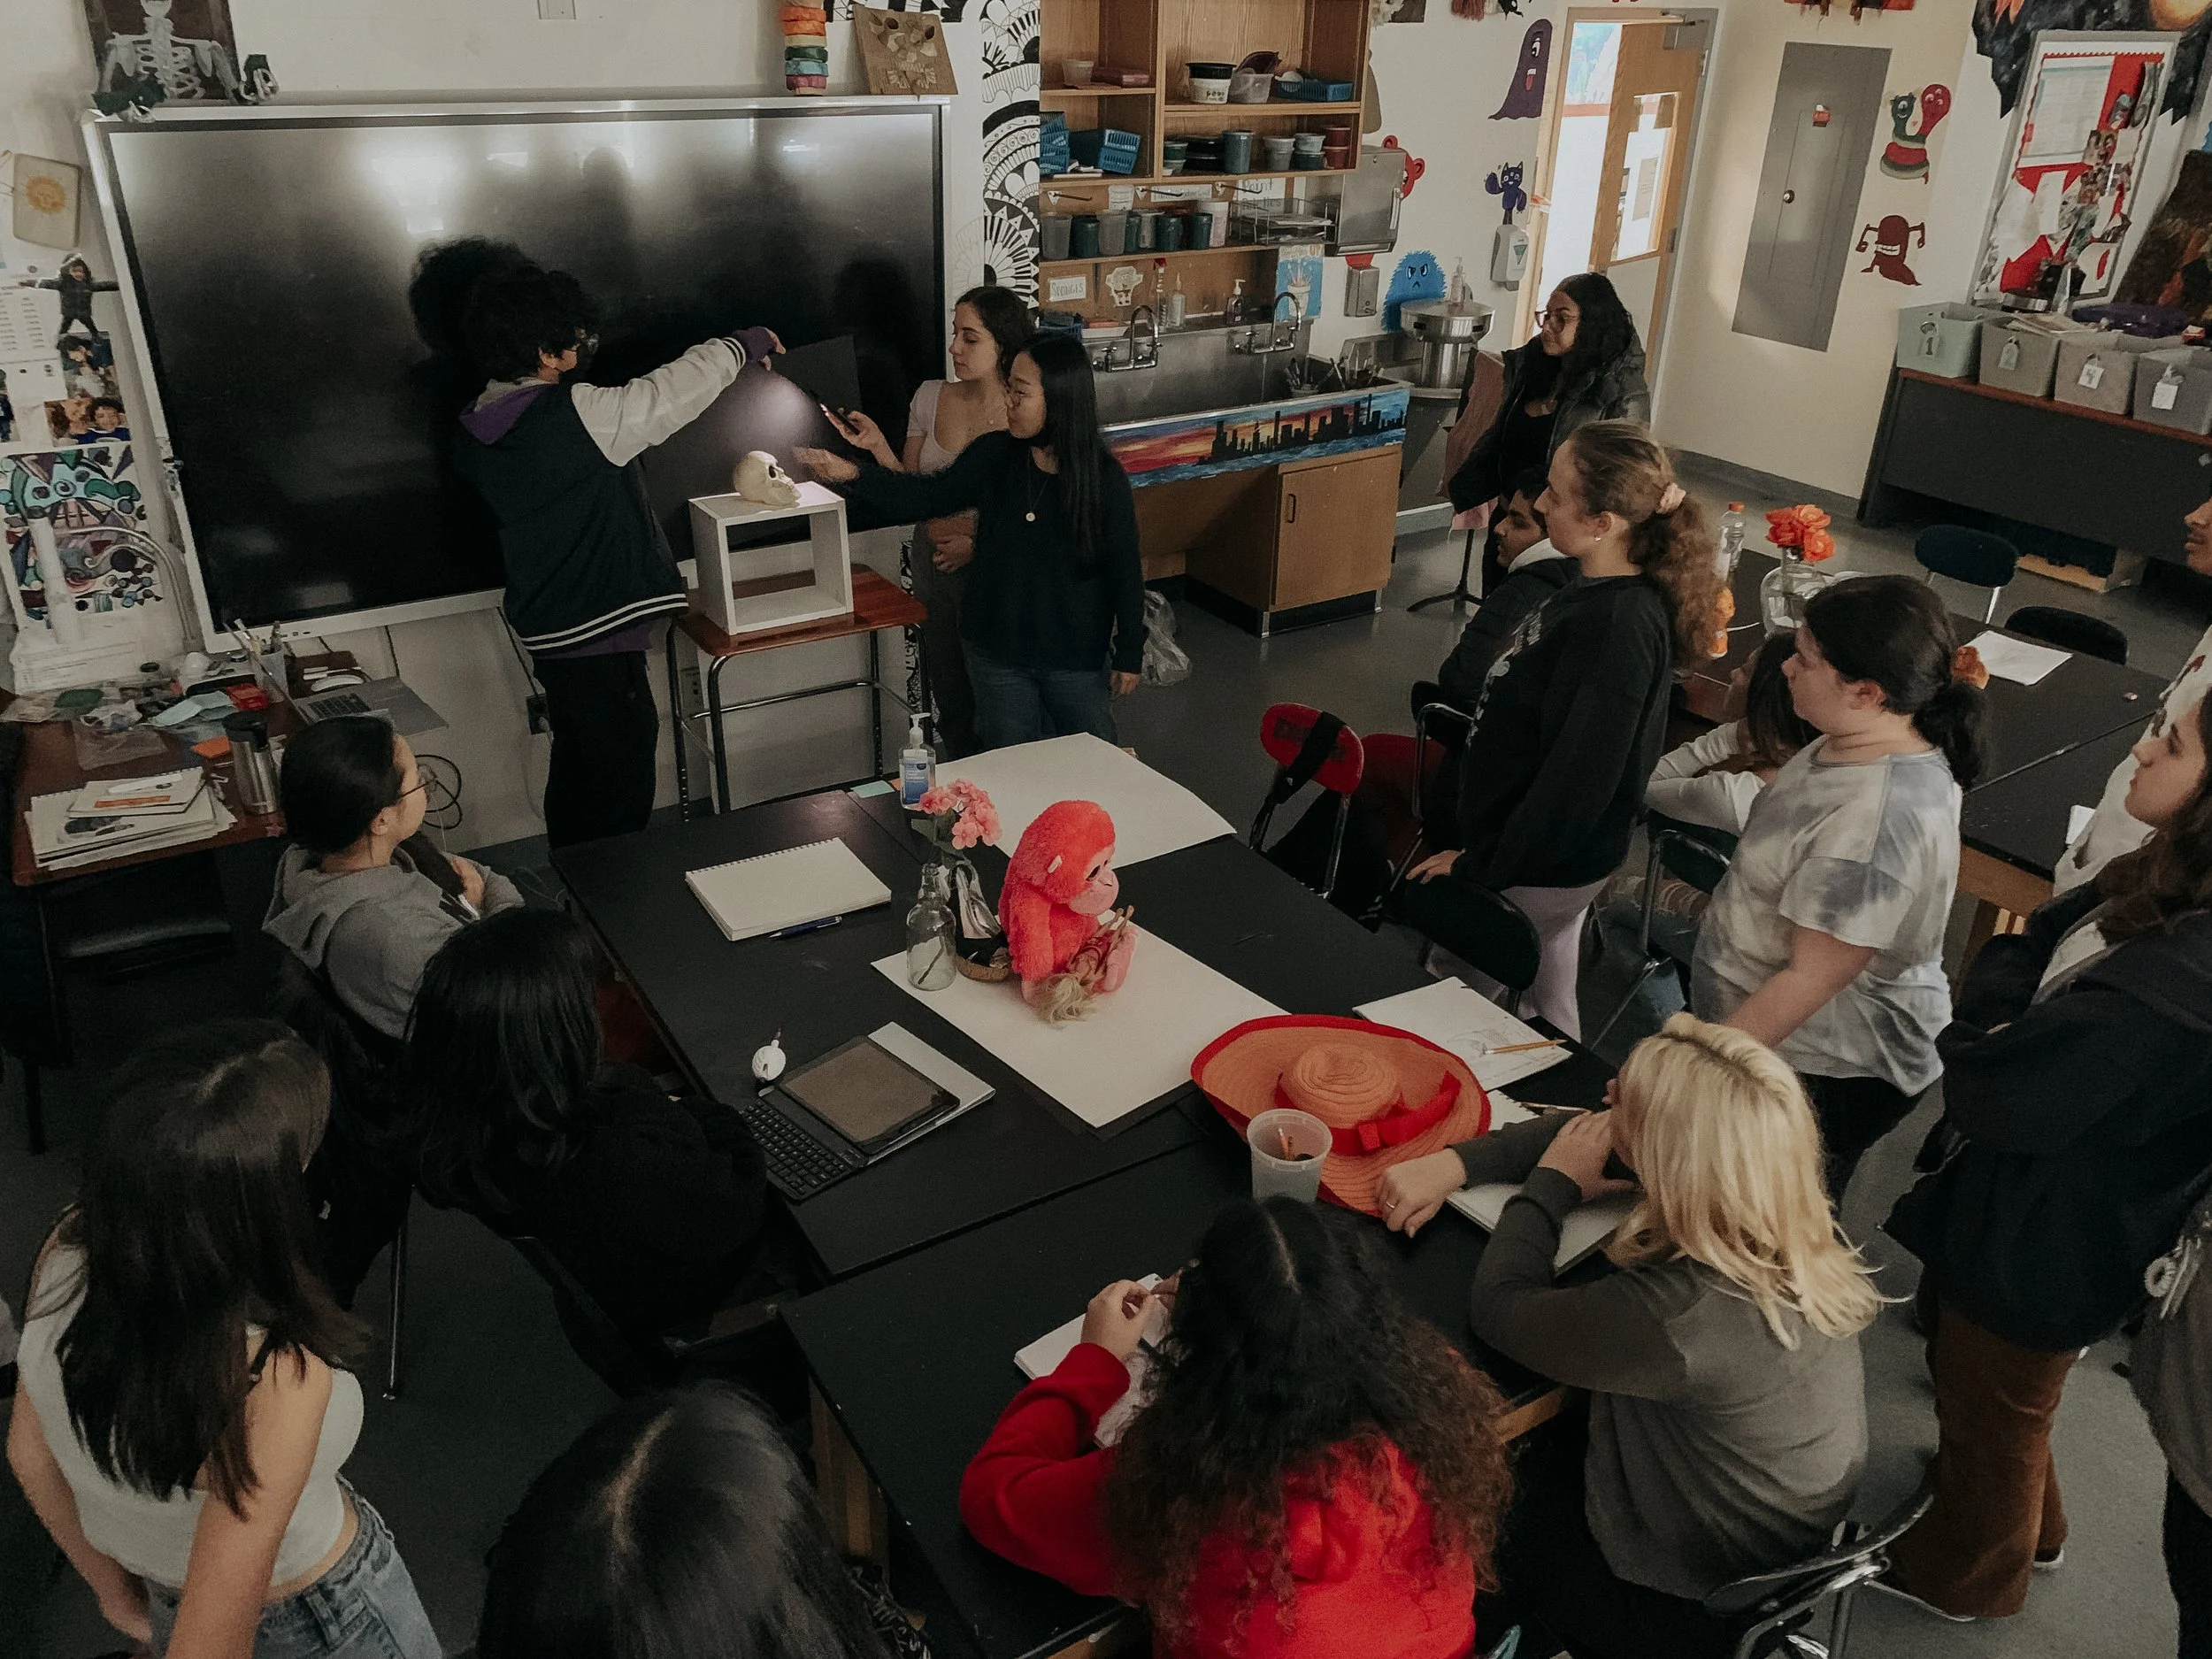
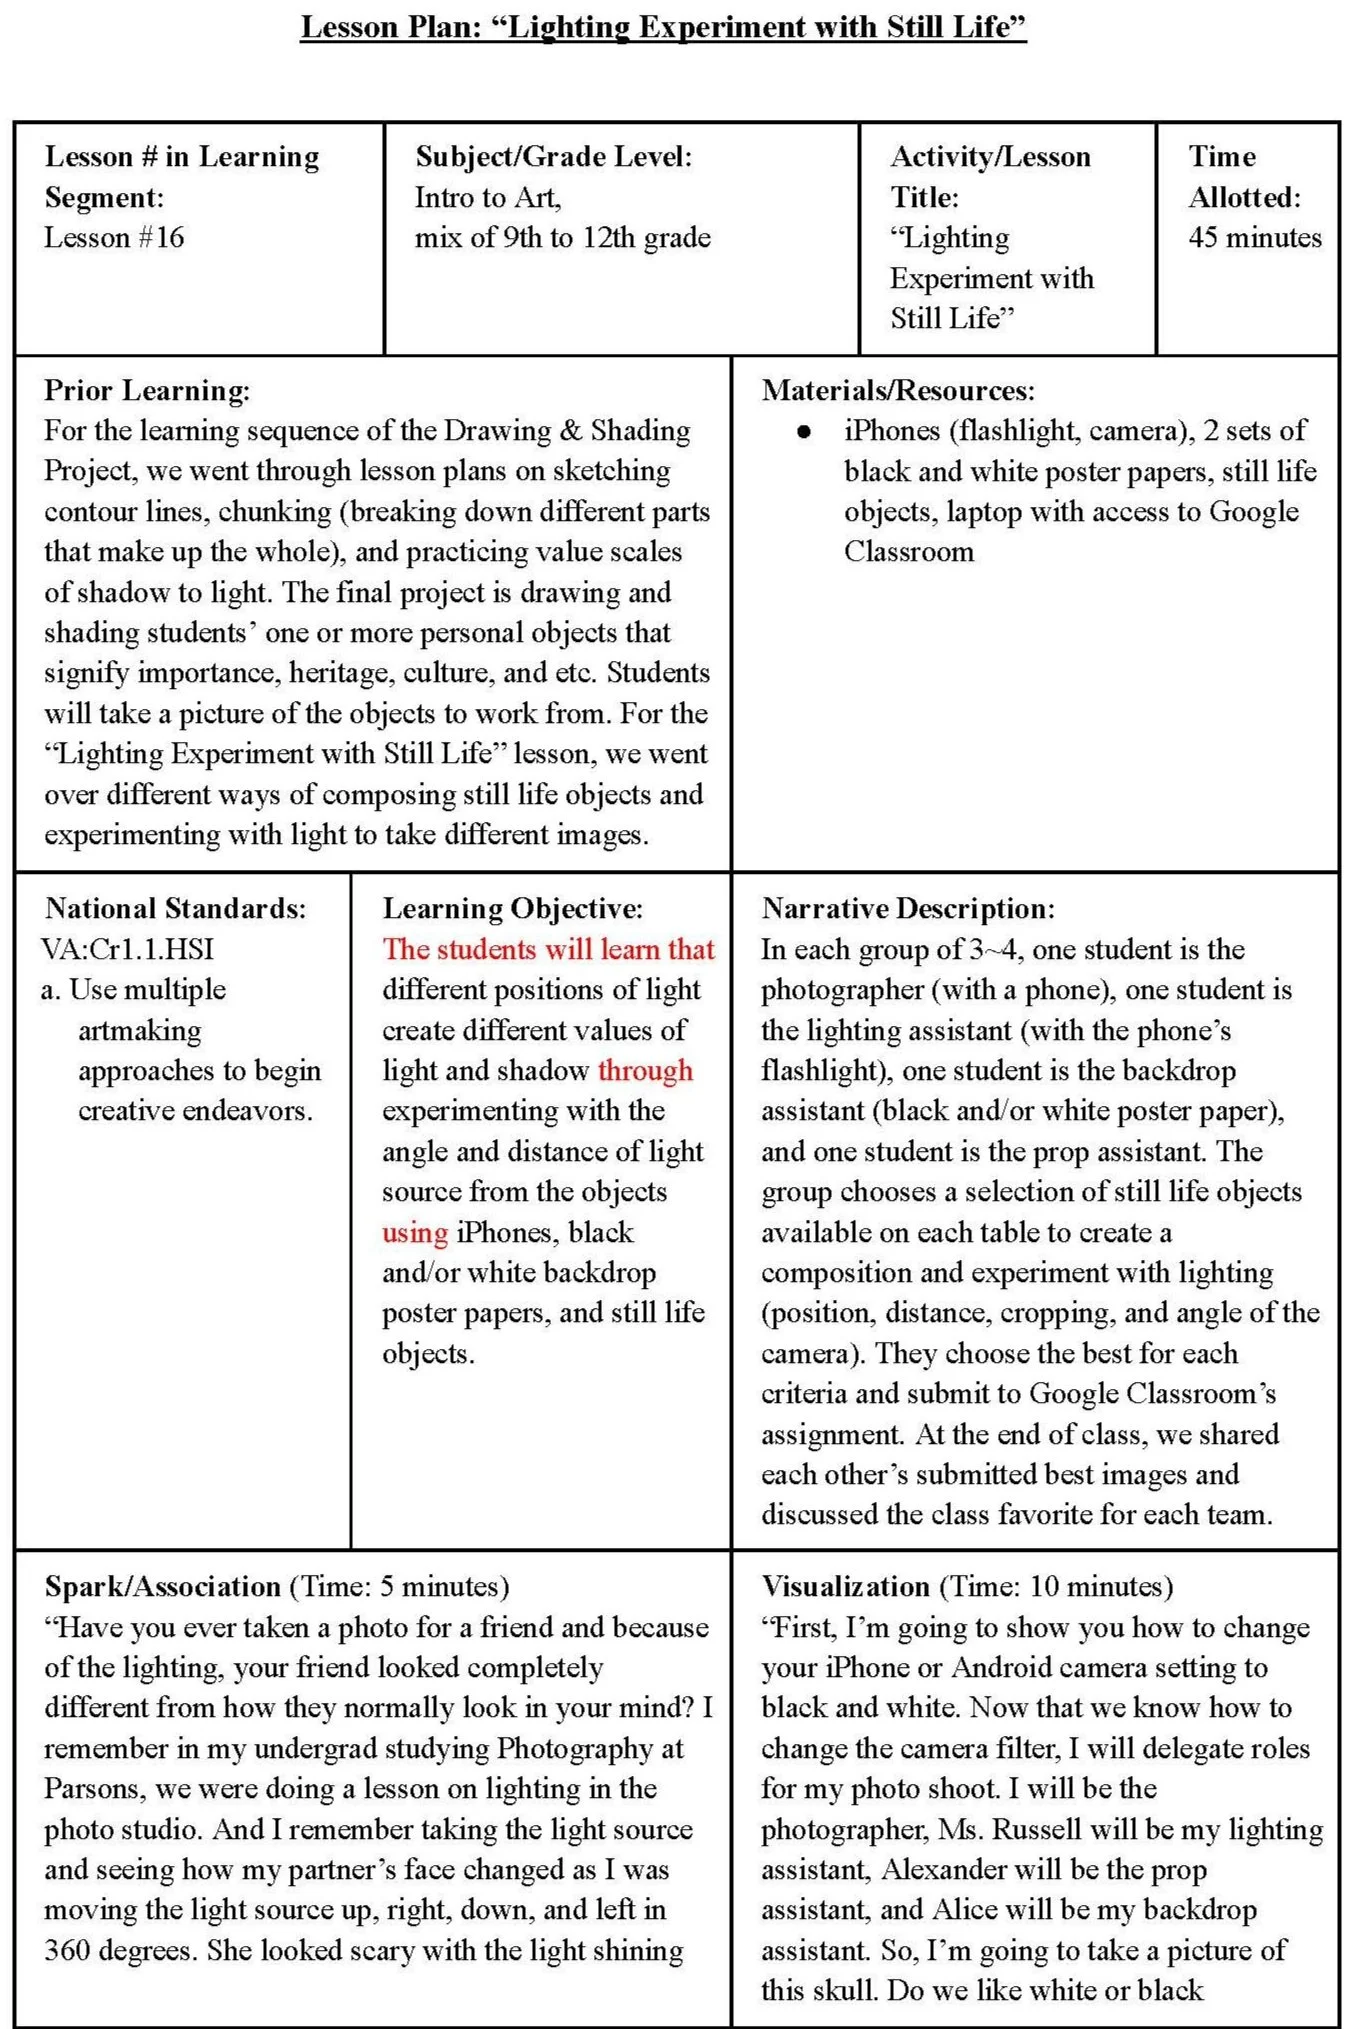
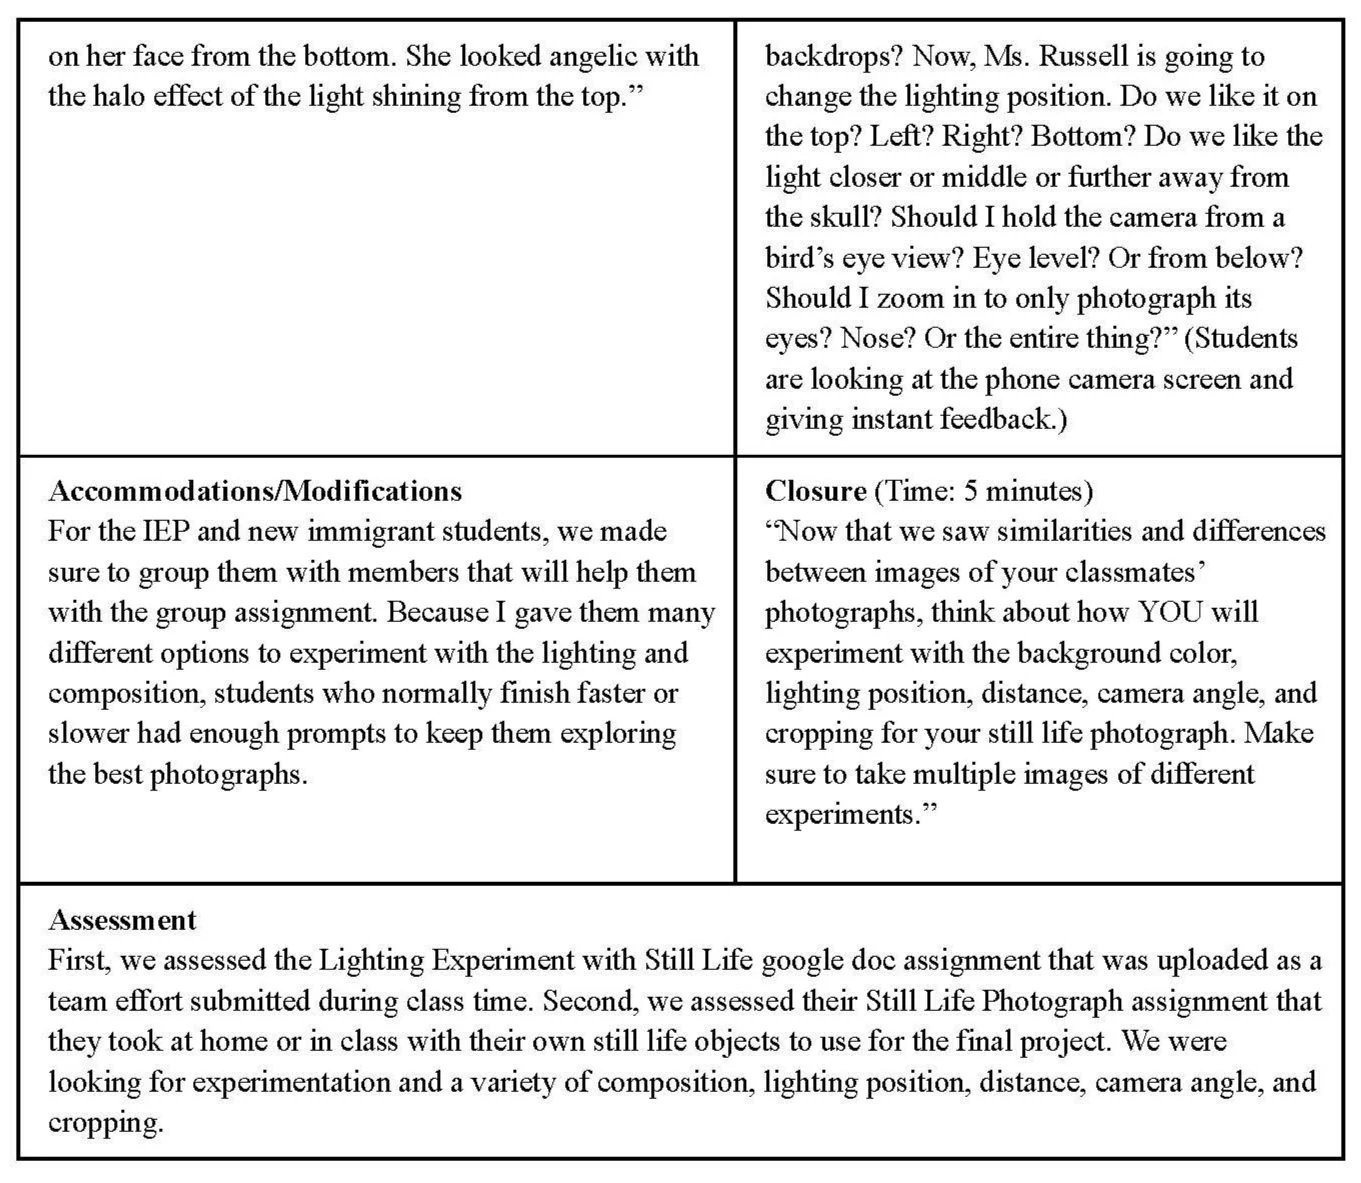
This lesson is Part 5 of a sequence called “Personal Still Lives.” (See Part 5 below.) In this sequence, students learned how to sketch and draw observational drawings of still life objects (flowers, toys, vases, etc.) with pencil, studying how to express values of light and dark. Then, either at the classroom or at their home, students photographed personal and meaningful objects in black and white. They started the final drawing after choosing one image as the reference from the batch they shot. For "Still Life Photography" lesson, students experimented on how to take black and white photographs by using their smartphone and light sources, so they could go home and take photographs on their own. Students were divided into groups of 3~4 with designated role of a photographer, lighting assistant, backdrop assistant, and still life prop assistant. They were given prompts to focus on different angles and distances of the lighting and the camera. The photographer uploaded the images to Google Classroom in which the entire class got to quickly see and talk about everyone's photos. Lesson Sequence:
Part 1 — Blind Contour Line Drawings
The students will learn that every object is spatially differentiated or emphasized by its contour lines through drawing blind contour line drawings of their non-writing hand using a sketchbook, pencil, and eraser. They will learn the difference between an outline and a contour line of an object. Whereas an outline traces only around the mass of an object, contour lines are break down the different parts that comprise on object. For example, an outline of a person will look like a silhouette while contour lines will reveal the head, torso, arms, and legs. Part 2 — Chunking Structures with Ellipses
The students will learn that objects are made up of separate parts that make up the whole through sketching separate areas of object(s) with simple shapes of circles, triangles, and/or rectangles using pencil, erasers, sketchbook, and still life objects.Part 3 — Values Exploration
The students will learn that there are different values of light and dark that transition in gradation through creating separate values in independent organic shapes, a value chart from light to dark, and gradation transitions between segmented spaces using a sketchbook, pencil, and eraser. Part 4 — Practicing Values
The students will learn that every object they see is comprised of light and dark value because of the different amount of reflection and/or absorption of light through practicing drawing still life objects from observation in black and white using a sketchbook, pencil, and eraser. Part 5 — Still Life Photography
The students will learn that different positions of light create different values of light and shadow through experimenting with the angle and distance of light source from the objects using smartphone flash, black and/or white backdrop poster papers, still life objects, and a laptop.Part 6 — Final Sketch
The students will learn that working on a final sketch before starting the artwork helps them add, subtract, and troubleshoot ideas and details through creating their final sketch using a sketchbook, pencil, and eraser. Part 7 — Final Artwork
The students will learn that personal objects in their life tell a story about who they are through creating a black and white still life drawing (observational or imaginary/fantastical/experimental) using paper, pencil, and eraser. Part 8 — Critique & Reflection
The students will learn that critique provides them with space to reflect on their progress, celebrate their successes, and receive feedback to further better their artistic execution through viewing all classmate's artwork together, learning how to discuss their and someone else's artwork, and writing reflection answers to the final assessment using the assessment form, pencil, and eraser. 